Flashing Your First Raspberry Pi Operating System

Getting started with the Pi is now easier than it’s ever been
With all its different flavours and variants, the Raspberry Pi is great for the modern maker. However, it wasn’t always like this, as the original Pi would be endowed with much more modest specs and little in the way of support.
The 2020’s have been the year of the maker, though. Not only have we been given boards that are RAM-heavy and capable of significant speed, but we’ve also been given access to new tools and software that make it much easier to get started with your new project.
Today, we’ll be taking a look at how to flash your new device with the operating system of your choice, thanks to the Raspberry Pi Disk Imager.
To follow along, you’ll need your laptop, a Raspberry Pi and an SD card. If your laptop doesn’t have an SD card slot, you should be fine to use a USB adapter.
Easier Than Ever
Back in the day, just getting started with a Pi required a slightly technical mind. You’d need Linux experience to set it up, the ability to select and download an operating system that was compatible and enough competency to SSH into the device. Now, all we need is the Raspberry Pi Imager.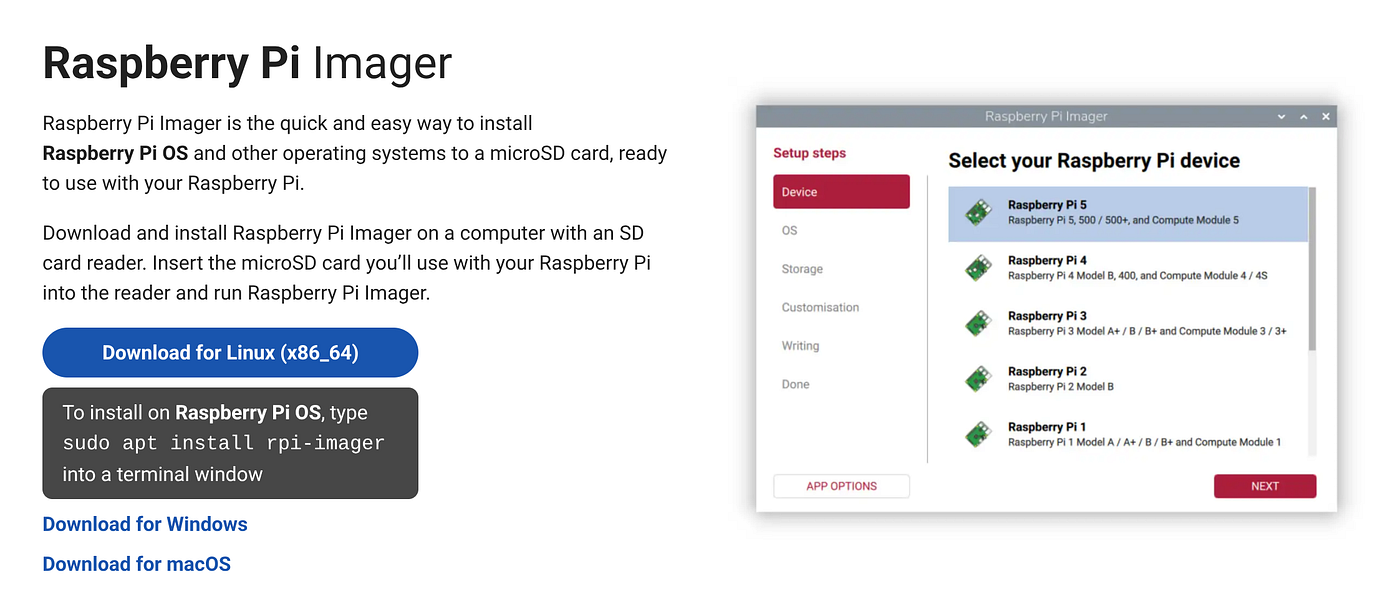
This software package gives us a selection of operating systems that are able to be configured on each device. Better still, we can even find images suitable for nearly every flavour of device.
While the OG Pi would launch with Raspbian, we can now choose between Retro Pi, Pi Hole, and Kali Linux, just to name a few.
Today, we’ll stick with good old Raspberry Pi OS to keep things nice and simple.
We’ll start by downloading the imager for your machine type via the instructions at this link.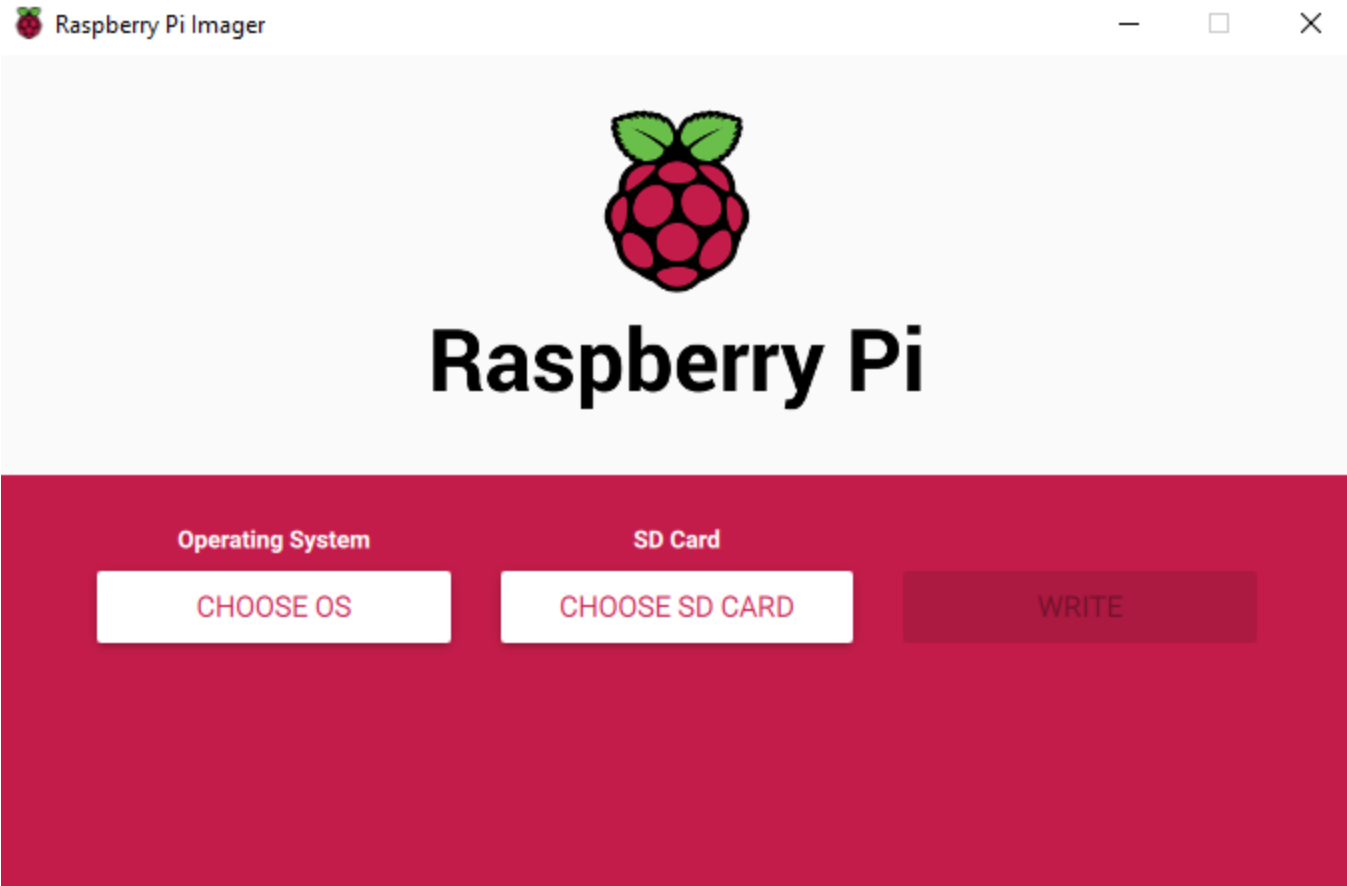
Flash The SD Card
First, we’ll format our SD card to ensure it’s clean and in the correct format to be flashed.
Now, the imager is super easy to use with just a few selection tabs to cover.
As we can see in the above image, we need to select our version of the OS, ensure it is being flashed to the correct SD card and then hit write to flash the software to our card.
It’s worth breaking down how this works, though. Initially, the software is grabbed via the online source, where it’s downloaded and then flashed. However, in the background, the Pi will also cache a version of the Software locally so it’s available for later use if needed.
This means that, should you need to reconfigure or reprogram a Pi, having the software locally speeds up the whole process dramatically.
At this point, if you’re going to access your Pi via a monitor, you should be ready to go. However, if you’d like to access the device remotely, it’s worth taking a few extra steps to make it easier to access.
We’ll do this by using the “Customisation Menu” to pre-configure some settings before we flash the card.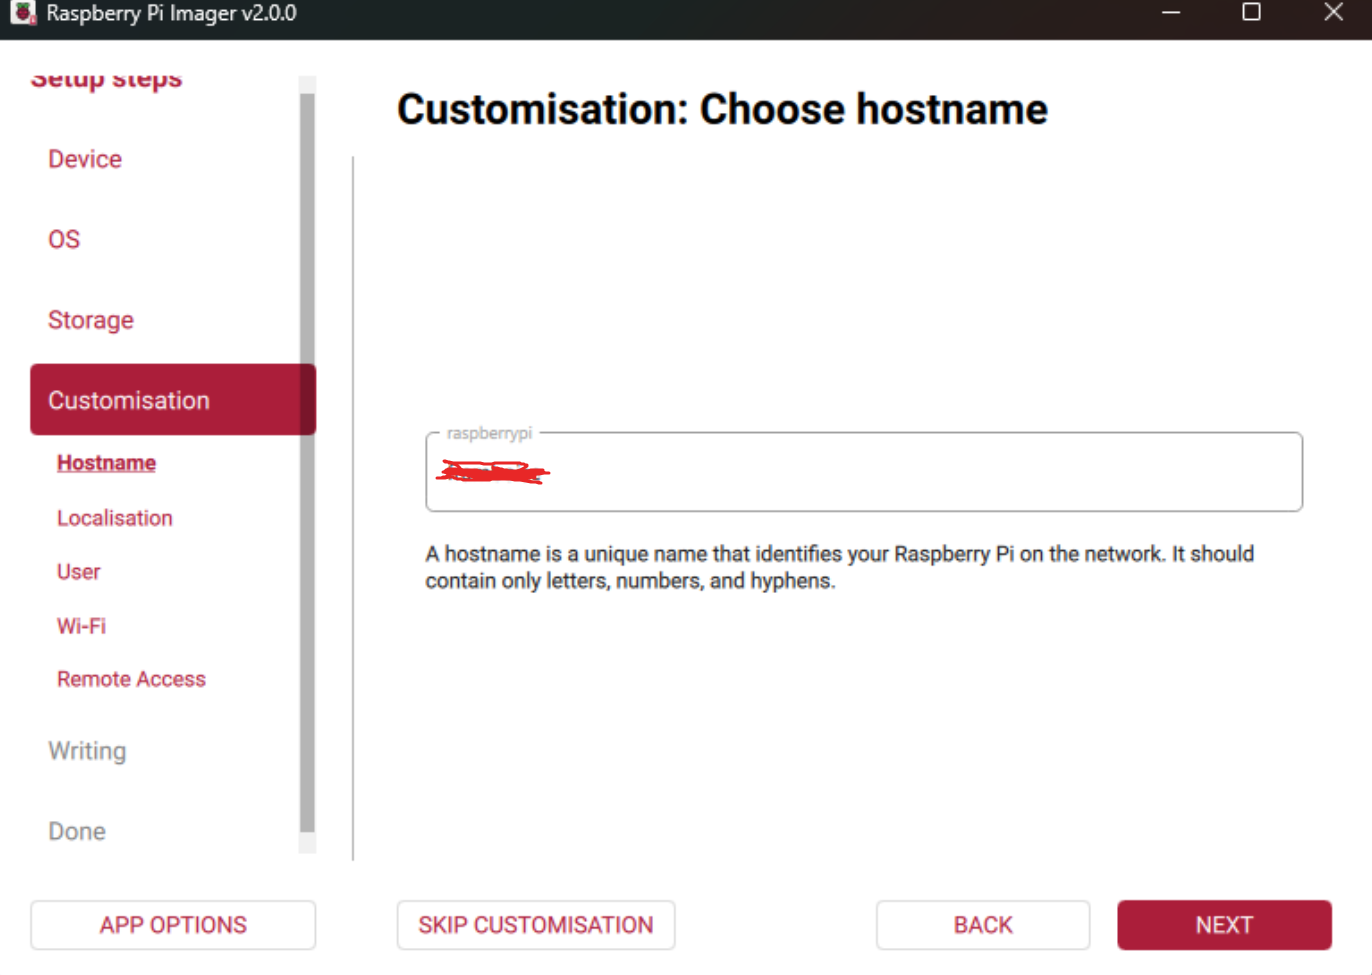
Headless Operating
To access the device headlessly, we’ll first want to set the hostname to something unique. Players choice for this one.
Then, we’ll want to select our Location, Timezone and Keyboard Layout before hitting next.
Back in the olden days, Pi’s would ship with a default user/password combo, making the standard configuration somewhat vulnerable if it was accessible. Now, we can set a user name from the Imager, which is a much nicer upgrade. Pick your username now.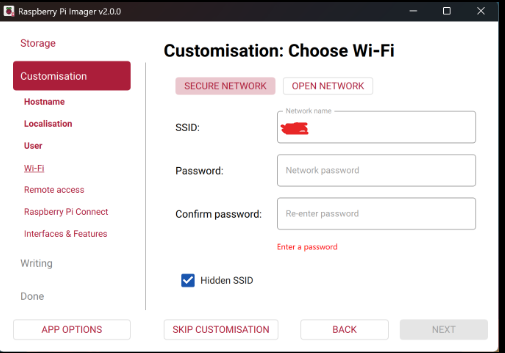
Then, we’ll move along to the Wi-Fi tab to configure your network settings. If you’re using a hidden SSID, ensure the “Hidden SSID” box is selected.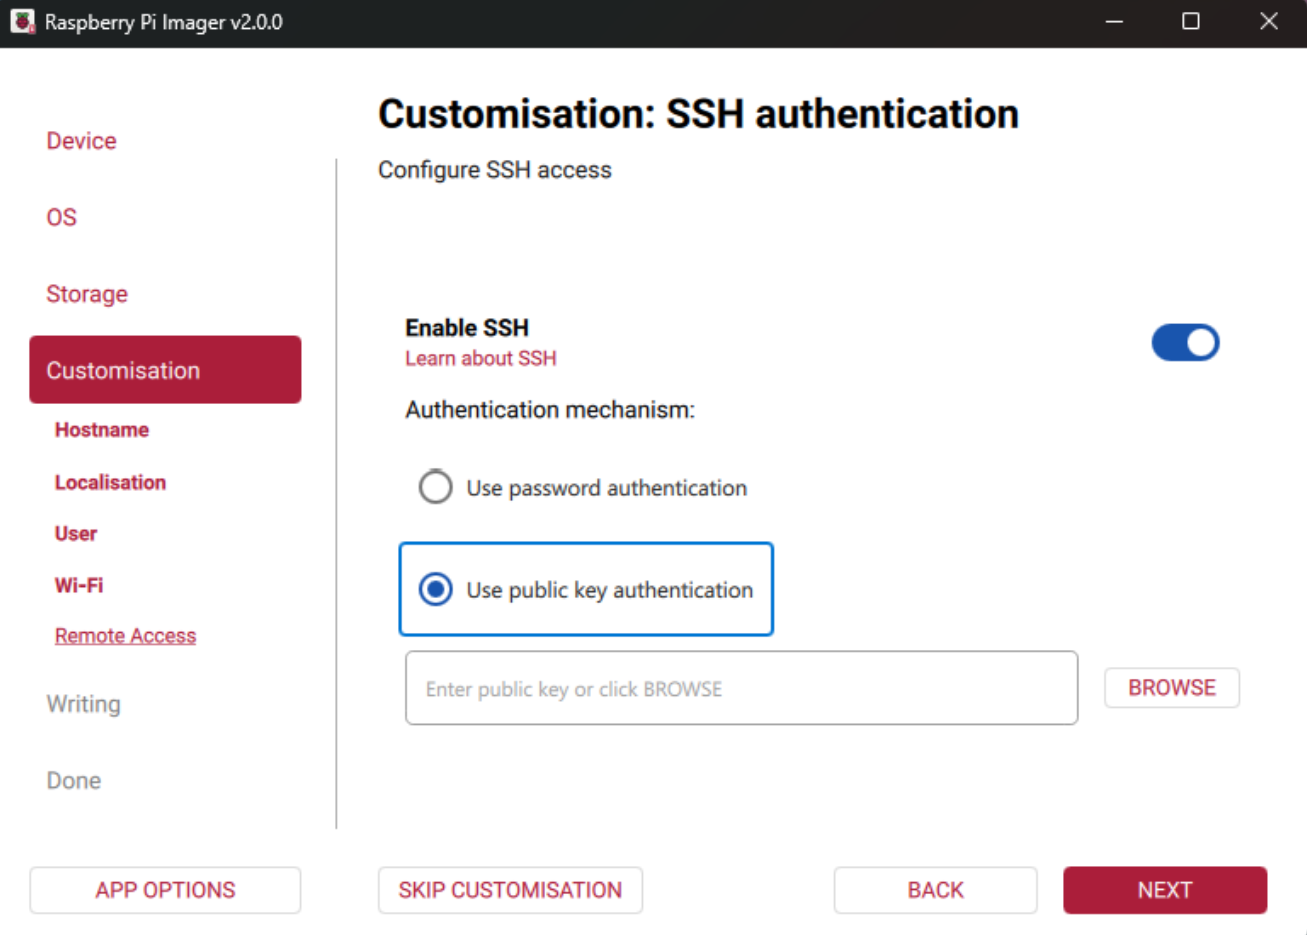
If you’d like to set up the device to be accessible via Remote Access, move to the next tab to set up your SSH connection settings.
While you can still use a password, it’s 2025, so using public key authentication is much more secure (and faster). If you’re not sure how to set this up, we’ll cover it in a future article.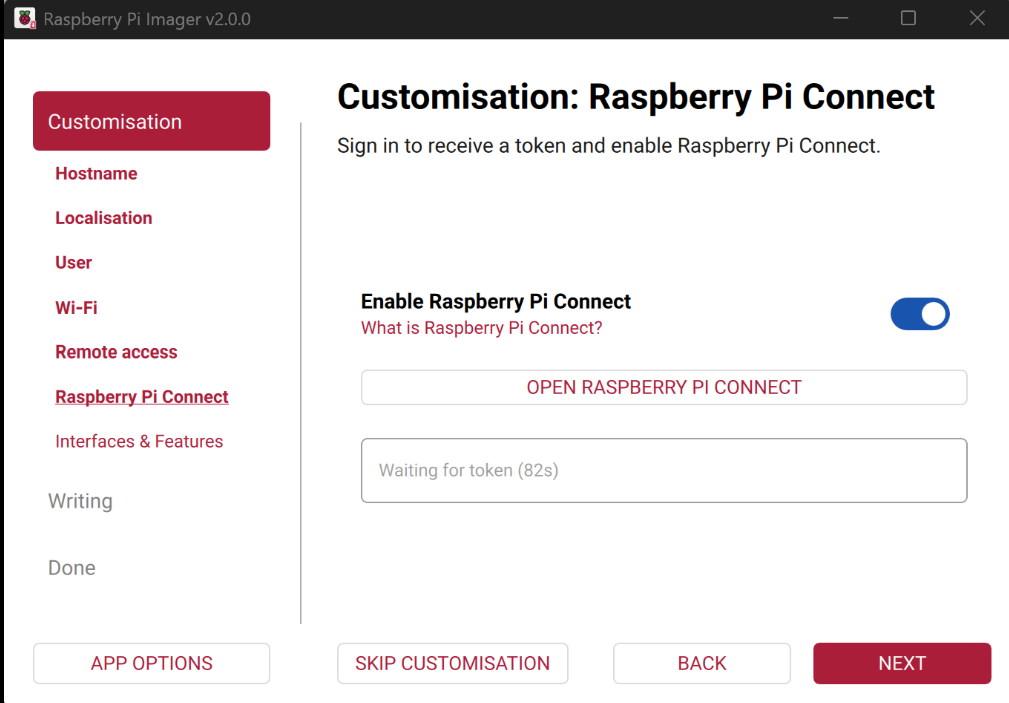
With the SSH configuration set, there’s just one more tab to cover, and that’s the status of Raspberry Pi Connect. If you’d like to have full GUI-based remote access, then go ahead and configure this.
However, rocking the terminal is much quicker, so for the purposes of today’s article, we’ll give that a miss.
Checklist to Completion
So if you’ve been following up to this point, we have:
- Downloaded and Configured the Imager.
- Selected an operating system.
- Setup Wi-Fi.
- Set up Remote Access.
- Flashed the SD Card.
The imager software will write the software to your card and carry out a post-flash check to ensure that the SD card has been set up correctly. If your card passes the flash check with no error, then you can go ahead and insert the card into the Pi to ensure it has been configured correctly.
If you haven’t used a Pi before, this might take a couple of minutes. While it’s loading, you should see the Raspberries at the top of the display and terminal text as the machine loads the GUI.
Once you’ve booted into the desktop, you’re ready to go and build something!
If you want to find a specific project to build, check out our Radio Hackers publication to see what you can do with just a few additional sensors, like the rtl-sdr or a monitor mode Wi-Fi card.
Now, go and have some fun!
If you found this article insightful, informative, or entertaining, we kindly encourage you to show your support. Clapping for this article not only lets the author know that their work is appreciated but also helps boost its visibility to others who might benefit from it.
🌟 Enjoyed this article? Join the community! 🌟
📢 Join our OSINT Telegram channel for exclusive updates or
📢 Follow our crypto Telegram for the latest giveaways
🐦 Follow us on Twitter and
🟦 We’re now on Bluesky!
🔗 Articles we think you’ll like:
- What The Tech?! Space Shuttles
- Shodan: A Map of the Internet
✉️ Want more content like this? Sign up for email updates