BASIC CERAMIC SHAPING METHODS 2: COIL METHOD

BASIC CERAMIC SHAPING METHODS 2: COIL METHOD
The coil method is perhaps the most versatile free shaping technique, allowing the creation of any design or form at any scale.

WHY THE COIL METHOD?
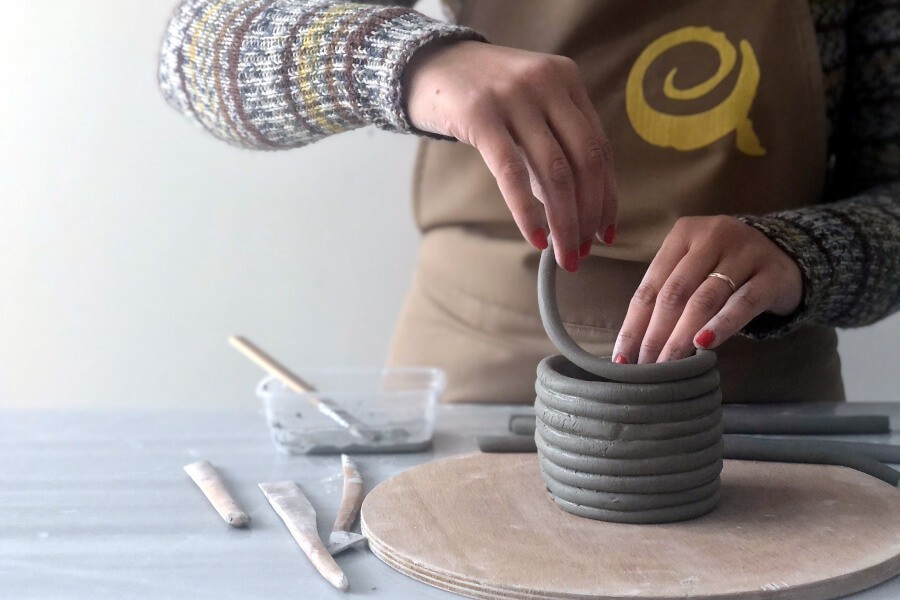
The coil method involves layering clay coils or other shapes, then welding them together to create a form. Even beginners can create large and interesting pieces using the coil method. It is generally considered a slow working method, requiring more patience and attention to detail than other techniques. Various coil methods can be used to achieve different appearances. Coils can be left visible, smoothed out for a sleek look, or shaped using a mold with different sizes and patterns of clay. This method can be used to create anything from a simple pot to a detailed sculpture.

WHICH CLAY IS SUITABLE FOR THE COIL METHOD?
The clay used for the coil technique should be plastic to prevent cracking during formation. Plastic clays retain their shape after being molded. Low-fire ceramic clay or stoneware clay can be used, but grogged clays are most suitable. The clay you use should be moist and soft. Hard clay can be difficult to weld together, leading to weak joints that may crack. Knead the clay well before use to homogenize it and eliminate the possibility of air pockets causing the piece to explode in the oven.

PRACTICAL TIPS FOR WORKING WITH THE COIL METHOD
Preparing clay coils is simple but can be frustrating for beginners. When rolling the coils, use your whole hand, not just your fingers. Be careful not to make the coils too long, as it can be hard to maintain uniform thickness. For large pieces, prepare thick coils about the thickness of your little finger.
If you're working on a surface that absorbs water, lightly dampen the surface beforehand. Coils tend to dry quickly and can crack during work. If the clay sticks to the surface, it's too wet; if it starts to crack while making the coil, it's too dry.
Before starting to shape, prepare some coils to avoid frequent breaks. But since coils dry quickly, if you prepare them in advance, store them in a plastic bag to prevent drying.
Before starting, know the form you aim to create. If you've decided on the form, create a template according to the form's profile. The best material for the template is thin MDF or thick cardboard.
The base of your piece can be made by wrapping coils or from a hand-shaped or rolling pin-opened plate. If you're not using a mold, adding too many coils without breaks can cause your work to sag. When taking a break, cover the top row with a damp paper towel, then cover the entire piece with plastic.
When you've reached the final row of your work, the welding process may have left the mouth part very thin. If so, add a coil to the outer or inner surface of the mouth part and weld it. At this point, the form of the product can be completed, or you can refine the form further with various hand tools if desired.
Tutorial Video :

Source ;
- https://www.claycraft.co.uk/how-to/coiling-for-beginners/
- https://www.thesprucecrafts.com/the-basics-of-building-coil-pots-2745832
- https://thepotterywheel.com/how-to-make-coil-pots/