Run a Taiko Node (Katla Testnet)

Engaging with the Katla Testnet is crucial for its transition to mainnet. Community participation, from running nodes to swapping to bridging & etc., ensures a smooth launch. Active contributors might also receive rewards, acknowledging their role in building a robust network. 🌟
Here’s How You Can Participate by Running a Taiko Node
Minimum Requirements
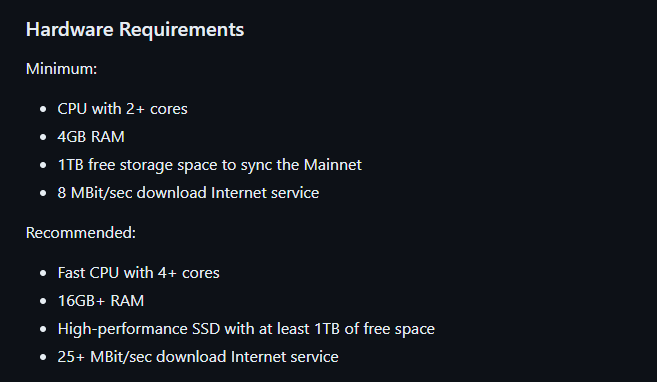
Order & Configure your VPS
You can establish your node by either configuring it on a personal computer or by utilizing a Virtual Private Server (VPS), which is well-suited for managing websites, applications, or other internet-based services, including nodes.
For my setup, I selected Contabo, a well-regarded provider of VPS rentals. Opting for a plan with at least 100 GB of storage is advisable to ensure sufficient space for long-term node operation.
My suggestion would be to go for the Cloud VPS M or L option. https://contabo.com/en/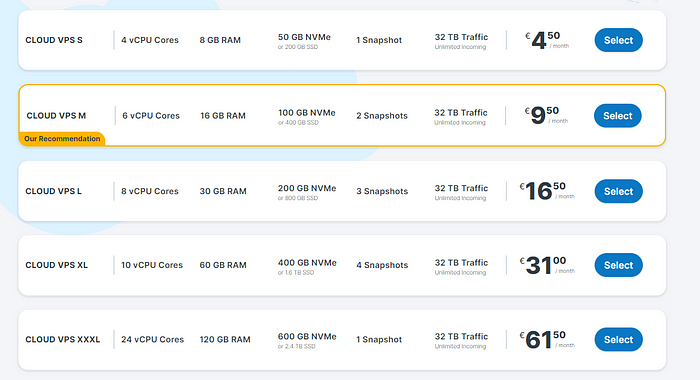 Choose Cloud VPS M or L
- Select Payment Term
- Region — Germany
- Storage Type -400 GB SSD
- Image — Go to Apps & Panels > Docker
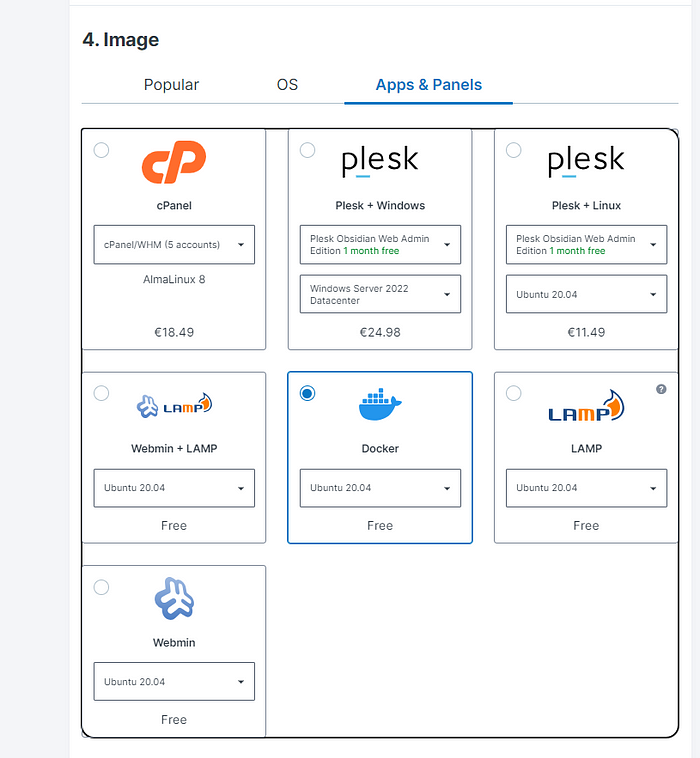 Apps & Panels > Docker
5. Log in & Set a Password for your Server Set a password
6. Object Storage — Default
7. Networking — Default
8. Add-Ons — Default
After finalizing your payment, you’ll get an email verifying your purchase. Hold tight for a follow-up email, which will provide details about your VPS, encompassing your access credentials.
You’ll need to download and use Putty, a tool that enables you to securely connect to your VPS and utilize its functionalities. Download it here https://www.putty.org/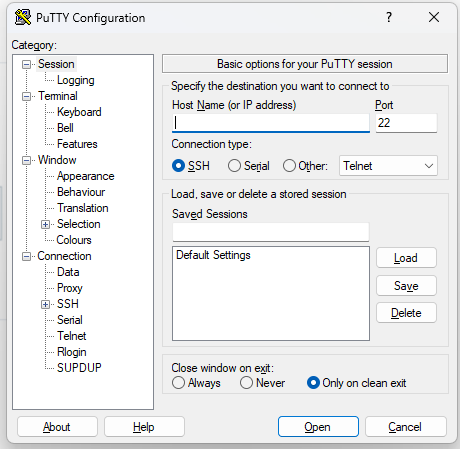 Enter IP ADDRESS
Enter the VPS IP Address then Click OPEN
Login : root
Password: (Enter your chosen password) Log in using the password you set earlier.
Preparations
- Install essential components
sudo apt update && sudo apt upgrade -y
2. Install Essential Codes
sudo apt install pkg-config curl git-all build-essential libssl-dev libclang-dev ufw
Reply Y then proceed
3. Check if Docker is up-to-date / Docker Installation
docker version
If docker is not installed, run the following command:
sudo apt-get install ca-certificates curl gnupg lsb-release
Now add Docker’s official GPG key:
sudo mkdir -p /etc/apt/keyrings
curl -fsSL https://download.docker.com/linux/ubuntu/gpg | sudo gpg --dearmor -o /etc/apt/keyrings/docker.gpg
proceed… We Are to set up Repository: (just copy and paste)
echo \
  "deb [arch=$(dpkg --print-architecture) signed-by=/etc/apt/keyrings/docker.gpg] https://download.docker.com/linux/ubuntu \
  $(lsb_release -cs) stable" | sudo tee /etc/apt/sources.list.d/docker.list > /dev/null
Let’s grant Docker file permission just in case, before updating the package index
sudo chmod a+r /etc/apt/keyrings/docker.gpg
sudo apt-get update
after granting, updated index, Install latest version of docker
sudo apt-get install docker-ce docker-ce-cli containerd.io docker-compose-plugin
Reply with Y and press ENTER Now install Docker compose :
sudo apt install docker-compose
Lets verify the ENGINE INSTALLATION is successful by running the hello-world
sudo docker run hello-world
 you should get this
Now check Docker compose version :
docker-compose -v

HOLESKY INSTALLATION
You can skip this step and go to TAIKO INSTALLATION if you already have an L1 Endpoints. (you can get them via RPC providers like Blockpi, Alchemy, Infura etc. )
Installation
- First, if you don’t already have a non-root user account, you’ll need to create one. You can do this with the
addusercommand:
adduser myusername
a. Set-up Password: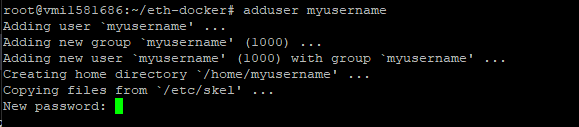 b. Update info (or you can just press ENTER for default)
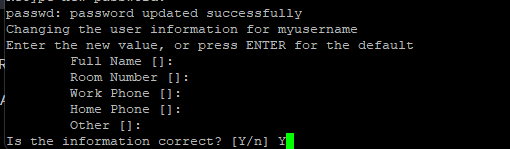 e. Edit the sudoers file with visudo for safety, as it checks for syntax errors:
visudo
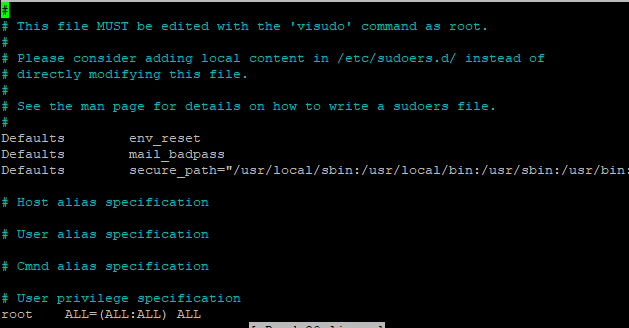 Use arrow keys to navigate to #user privilege specification and Add a line for the new user to grant sudo access.
myusername ALL=(ALL:ALL) ALL
example: It should look like this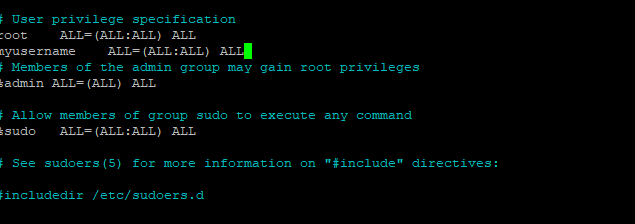 Ctrl+X , Y and ENTER to save
test your sudo access: (OUTPUT SHOULD RESULT TO ROOT)
sudo whoami
 2. Enter su command
su - myusername
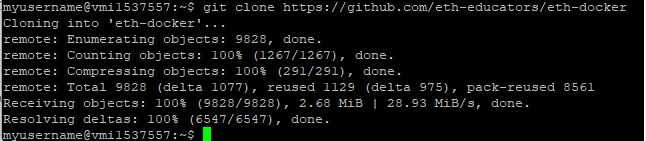
 3. Clone Eth Docker
git clone https://github.com/eth-educators/eth-docker
 2. Go to directory
cd eth-docker
 3. Do the eth-docker quickstart config
./ethd config
 Enter Password
Select the following:
a. Holeskey Testnet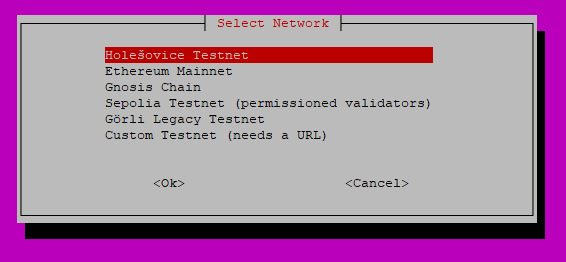 Holesky Testnet
b. Ethereum RPC node -consensus and execution client Ethereum RPC node
c. Lighthouse (Rust) — consensus client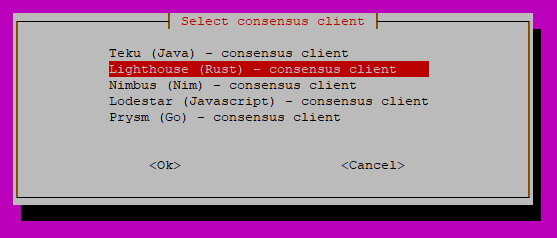 Lighthouse (Rust)
d. Geth (Go)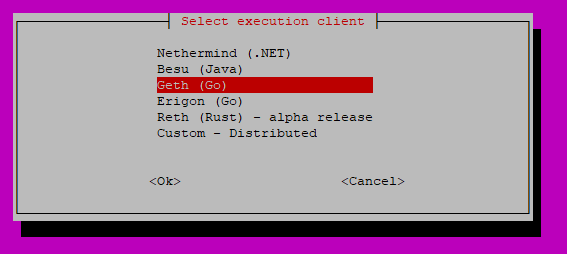 Geth (Go)
e. Press Enter (OK)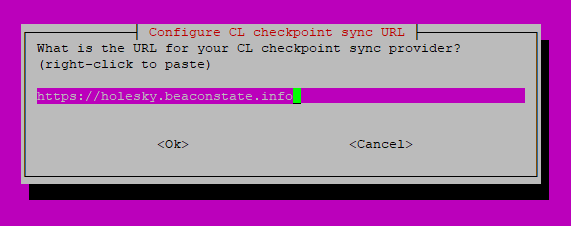 Enter (OK)
f. MEV boost (NO)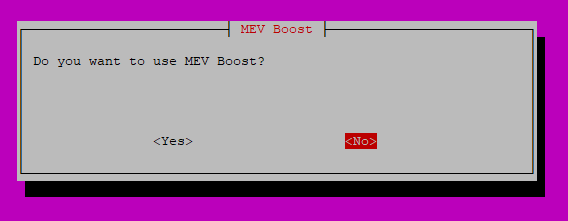 Select No
g. Grafana (YES)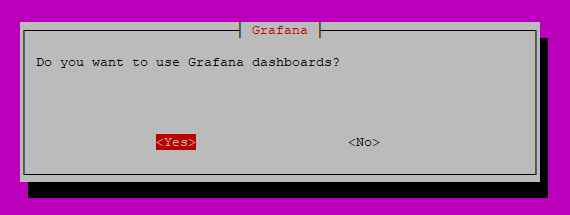 Select Yes
f. Enter wallet address (any wallet address that you control) Enter Wallet Address
g. After Selecting, wait for the configuration (takes about a min)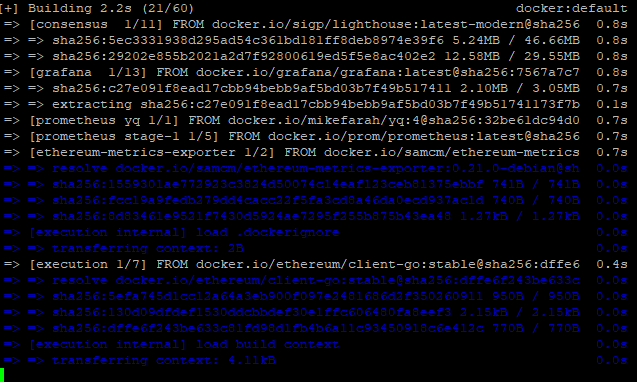 4. Expose RPC PORTS
nano .env
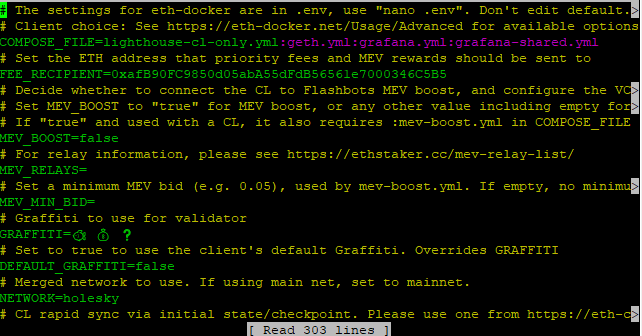 a. Go to this line “COMPOSE_FILE=lighthouse-cl-only.yml:geth.yml:” and add :el-shared.yml
 add :el-shared.yml
b. Also Enable archive node -(Navigate down using the arrow keys). Set the value ARCHIVE_NODE to true Save (CTRL+X, Y & ENTER)
5. Run the Holesky Node 6. Monitoring (Check your node if Running Properly)
a. Go to grafana dashboard by entering this to your URL= <localhost>:3000 Default Username & Password is = admin
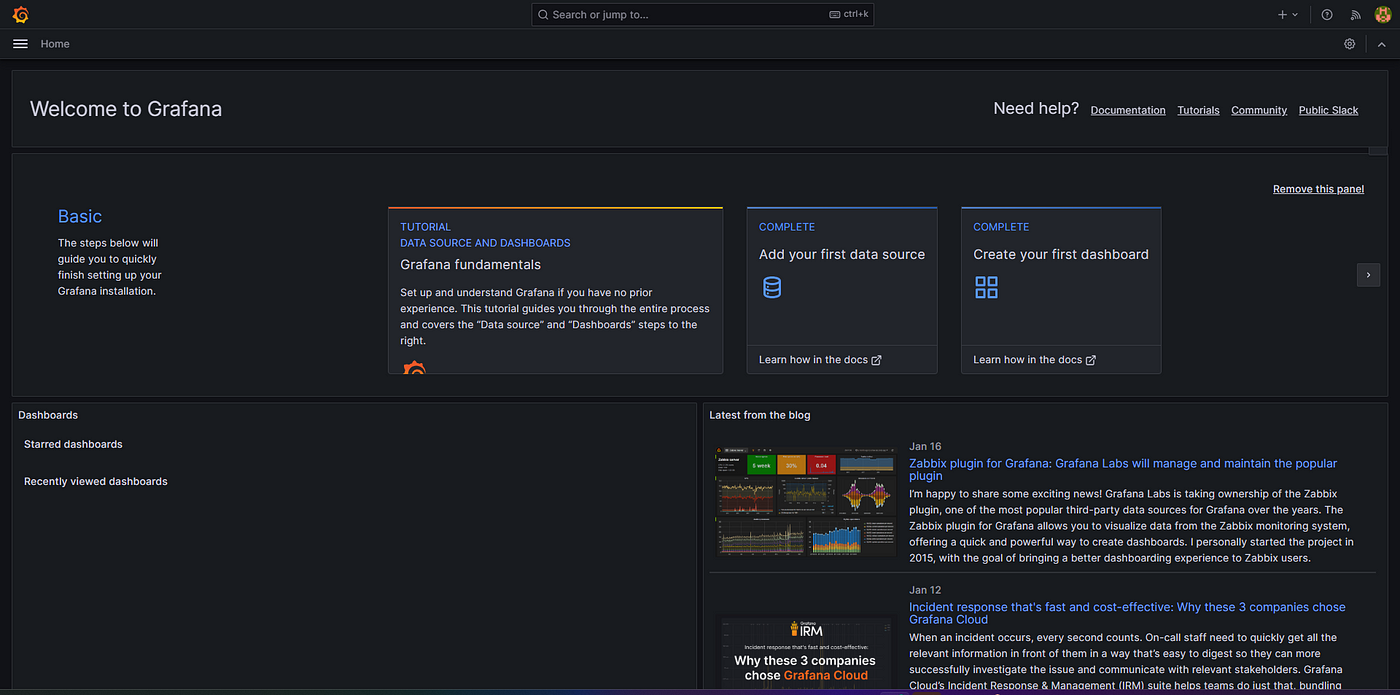 b. Go to search bar and type “GETH”
 c. If you see graphs like this, it means your node is running. Wait for a while for it to sync.
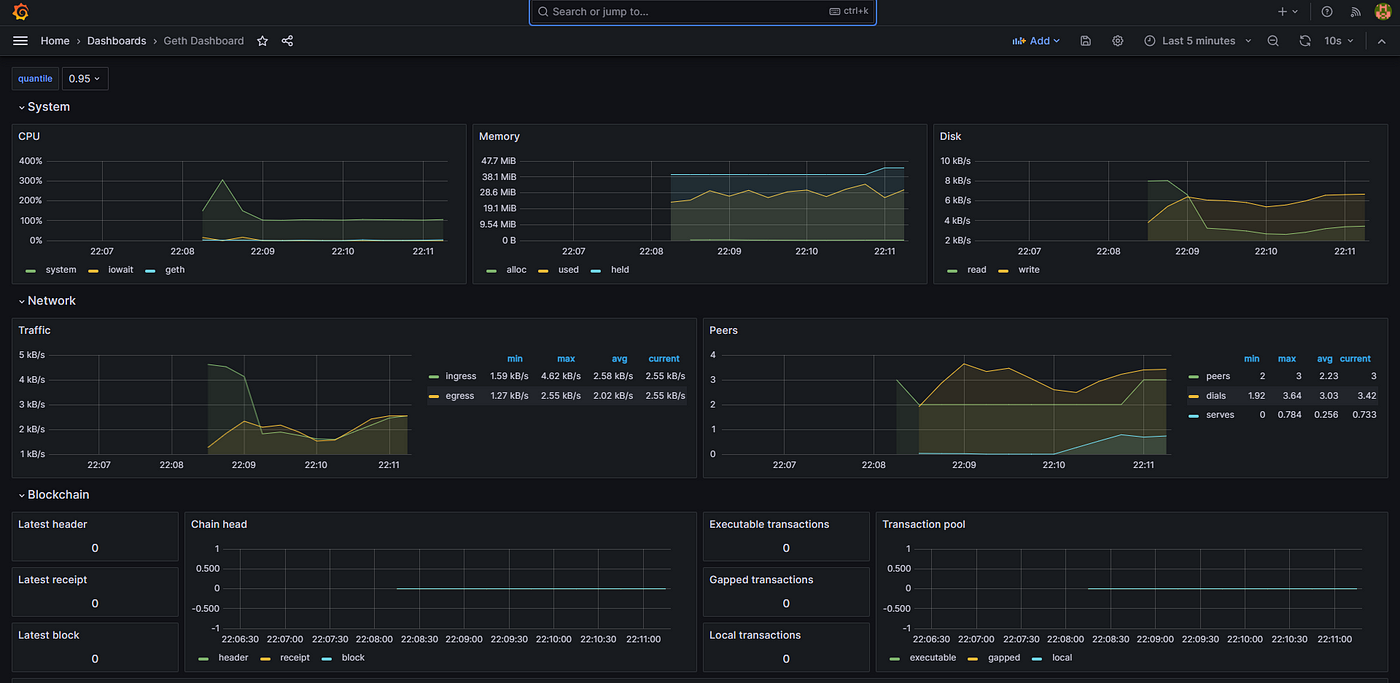 Now you have your Holesky Node running for your L1 Endpoints.
TAIKO INSTALLATION
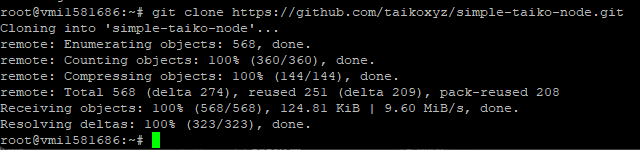
- Clone taiko
git clone https://github.com/taikoxyz/simple-taiko-node.git
 2. Go to taiko directory
cd simple-taiko-node
 3. Copy sample .env file
cp .env.sample .env
 4. Configure ENV file
nano .env
Set the following L1 node endpoints in your .env file:
L1_ENDPOINT_HTTPhttp://”VPS_IP_ADDRESS”:8545L1_ENDPOINT_WSws://VPS_IP_ADDRESS:8546
 SAVE (CTRL + X, Y and ENTER)
5. View endpoint
source .env
echo $L1_ENDPOINT_WS
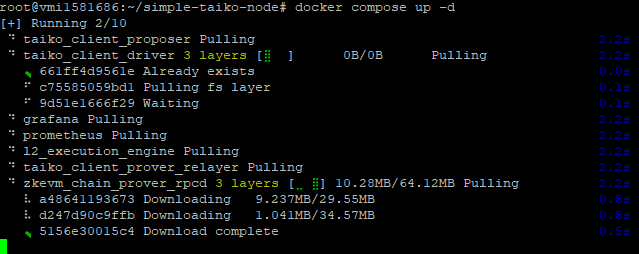
 6. Run Taiko Node
docker compose up -d
 7. Monitoring
a. Check Logs
docker compose logs -f
b. Open Grafana dashboard
Open in URL = http://localhost:3001/d/L2ExecutionEngine/l2-execution-engine-overview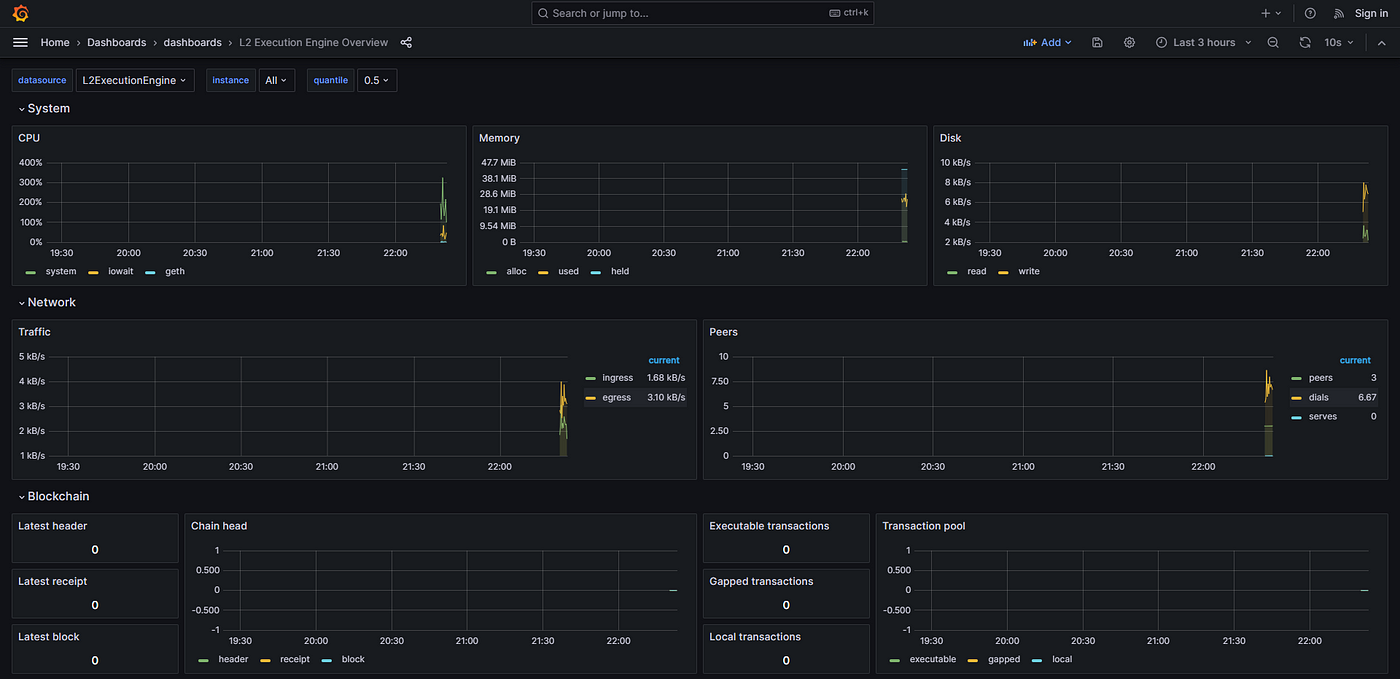 Wait for it to sync and come back after a few hours. (still unsure on how many hours is the sync time )
Optional: If you already saved your screen by using this command:
screen -S taiko
You can press CTRL+A+D simultaneously to logout session. and if you want to come back to your previous session, you can use this command:
screen -r taiko
That’s it! You now have your Taiko Node running! Make sure to stay updated on Taiko’s Socials regarding any updates in the future.