SDR, The Radio Spectrum & The World Around Us

Part 3, A DIY ADS-B Flight Tracking Station.
In parts One and Two of this series, we took a look at the Radio Spectrum, looked at the SDR dongle as a cheap RF receiver and looked at how to use a Raspberry Pi as a signals intelligence station.
Today, we’ll close of this series with a quick and easy article showing you how to build a simple ADS-B flight tracker. Grab your Raspberry Pi and lets get going!
Requirements:
You’ll need a Raspberry Pi with an SD card, an Internet Connection and the means to either send your Pi’s output to an external monitor or alternately login via ssh. If you’re using an external monitor, make sure you have access to a keyboard & mouse as well.
You’ll also require an RTL-SDR unit to give your raspberry the ears it needs to track aircraft and depending on your location an external antenna may also be useful. However for testing purposes, you can use the provided antenna to setup and configure, and shift to something better later on.
Got it, Let’s Go:
First we’ll need an image for our SD card. This is a nice simple tutorial as there’s a few images pre configured for the Pi that are about as close to plug and play as it gets. We’ll be using flight aware so head to the website and download their raspberry pi image here.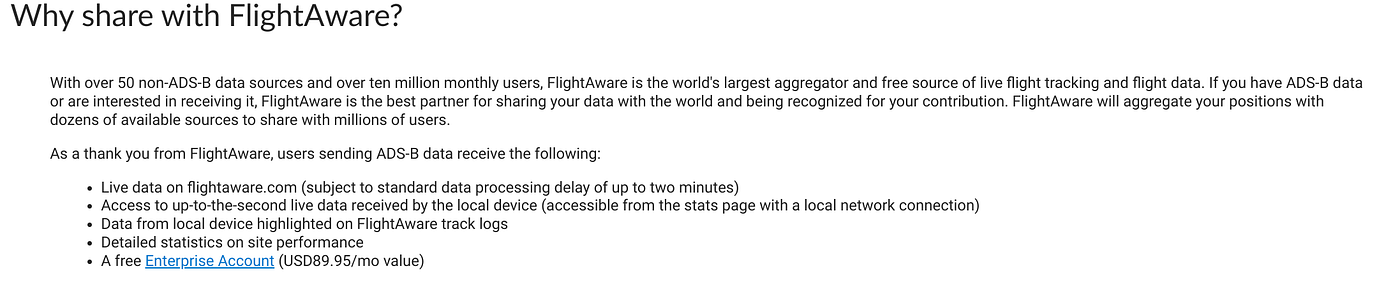 Using the Flightaware image and feeding it data will land you a free enterprise account worth $89.95 pm. Source; Author
Once we’ve downloaded the image, we’ll need to flash it to the card and configure it to feed data so we can claim our free account.
We can use Balena Etcher to flash the SD card, or you can do it from the command line should you choose. Once you’ve flashed you SD Card you’ll need to put in in the Pi then power up. The initial process may take some time so give it a few minutes. The Pi is typically slower than what you’ll usually work with, but it’s a perfect setup for a low powered SDR receive station.
You’ll also need to provide your Pi with an Internet Connection as it boots. Using the onboard Ethernet is the easiest way however you can configure wifi within the sd card should you not have Ethernet. There’s information on doing this in the caption below. Once you’ve accessed the folder you can enter your Wi-Fi connection information and the Pi will connect automatically on boot. Also make sure you’ve connected your RTL-SDR dongle prior to applying power.
Checklist:
Card Flashed
SDR Dongle Installed
Ethernet configured OR
WiFi Enabled.
Antenna Connected.
Apply Power.
Feeding Data:
While your Pi is booting, you should use a different device to register for a Flightaware account to link your setup to. You can do this via this link and once you’re complete keep a hold of the information so we can add them to our Pi.
After the device is booted and you’ve given it 5 minutes or so to sort itself out, you’ll need to apply the changes to feed data. To do this, you’ll need to identify the Pi on your network so we can connect remotely. You can use a network scanner like nmap or an app like Fing! to obtain this information.
You’ll then need to claim your account using this link. Claiming is a simple process and only entails providing your account information that you registered earlier. Once you’ve linked you’re account and you’re feeding data, you’ll automatically be upgraded to an enterprise account.
When you’ve completed linking, check your account statistics to ensure you are receiving and feeding data to flightaware. Depending on your location, even a poor, indoor view of the sky should still provide some data packets, which will help indicate that the system is working correctly.
You’ll be able to access the data via web interface on your local network. The Skyaware web portal is a clean interface that overlays received transmission over a map, and provides you with aircraft and flight information.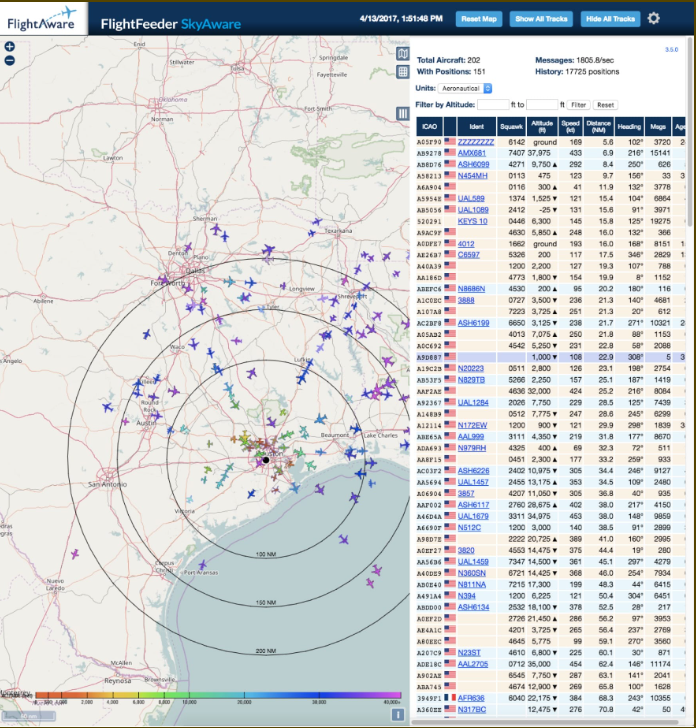 Skyaware is a clean, simple web interface. Source: Author
Tidying Up:
At this stage providing you see data on the account you’re effectively ready to go. However there’s a few things we’ll need to complete before we can finish the project.
Firstly, it’s extremely common for people to access raspberry pi and other single boards via SSH. This means that should you leave your Pi unsecured with a standard password that it probably won’t be too long until someone comes along and decides to secure it for you. So ensure you’ve used a strong password or setup key access, particularly if you are intending to leave your flight tracker online for any significant length of time.
Secondly, the antenna that typically arrives with most SDR receivers isn’t particularly good. You’ll probably notice significant improvements with even a badly made antenna, providing you’re able to ensure it’s the correct length. A google search for 3/4 wave ADS-B antenna should yield enough results for you to construct one at home using scrap materials.
Lastly, if you’ve followed along but aren’t confident in building you’re own, then you’re in luck as we’ll happily build you one should you be interested. We can also provide you with pre flashed SD cards should you wish to take most of the effort out of the build. You can find both these items and more in our new Ko-Fi store listed below.
🌟 Enjoyed this article? Support our work and join the community! 🌟
💙 Support me on Ko-fi: Investigator515
📢 Join our Telegram channel for exclusive updates or.
🐦 Follow us on Twitter
🔗 Articles we think you’ll like:
- OSINT Unleashed: 5 Essential Tools for Cyber Investigators
- What the Tech?! GPS Technology
✉️ Want more content like this? Sign up for email updates here