Run an Aleo Node

Aleo’s Mainnet Launch is Set for Early 2024. With $300M in Funding. Jumpstart your journey with Aleo’s testnet now. Set up your wallet, initiate your Prover node, and start interacting with Aleo’s private application platform.
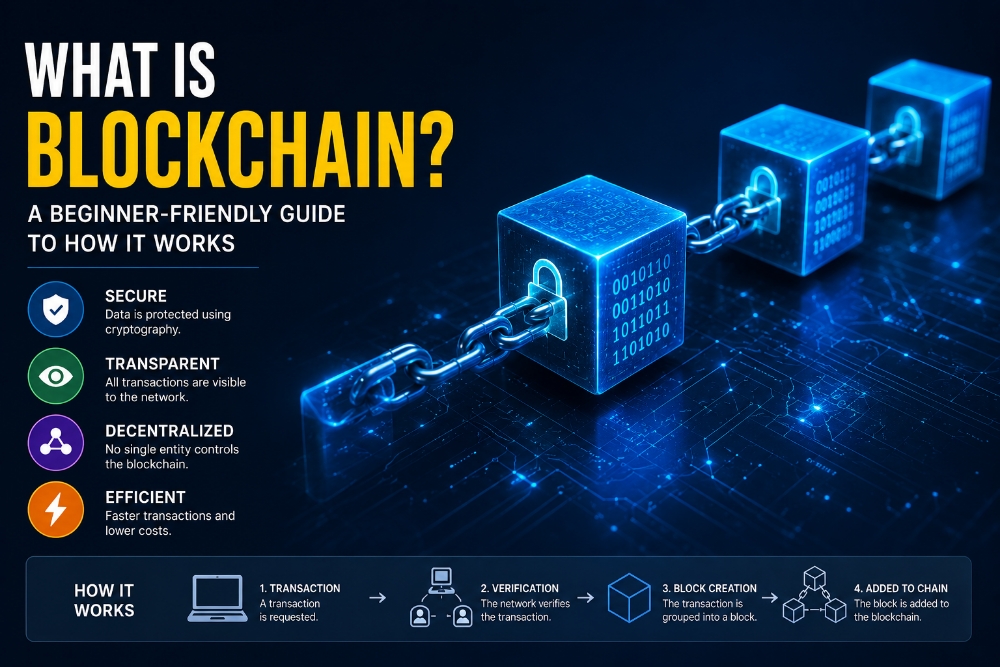
Exploring Aleo: The Privacy-Centric Layer 1 Blockchain Revolutionizing with Zero-Knowledge Proofs:
Aleo is a platform for private applications using zero-knowledge cryptography. Aleo is a Layer 1 blockchain — based on a novel consensus protocol — is designed to be faster and more efficient than traditional models by leveraging zero-knowledge (ZK) proofs.
Minimum System Requirements
- 16 GB RAM
- 64GB SSD
Order & Configure your VPS
You can establish your node by either configuring it on a personal computer or by utilizing a Virtual Private Server (VPS), which is well-suited for managing websites, applications, or other internet-based services, including nodes.
For my setup, I selected Contabo, a well-regarded provider of VPS rentals. Opting for a plan with at least 100 GB of storage is advisable to ensure sufficient space for long-term node operation.
My suggestion would be to go for the Cloud VPS M option. https://contabo.com/en/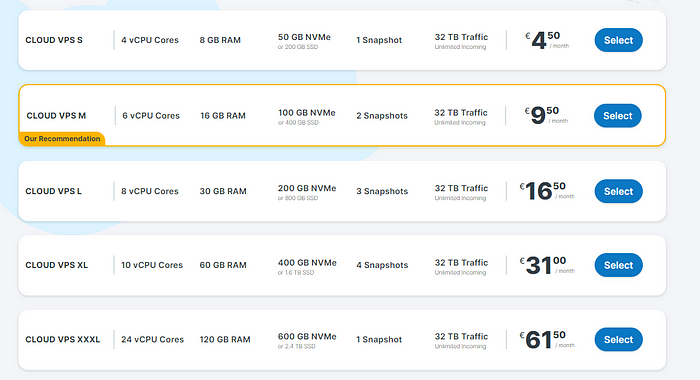 Choose Cloud VPS M
- Select Payment Term
- Region — Germany
- Storage Type -400 GB SSD
- Image — Go to Apps & Panels > Docker
 Apps & Panels > Docker
5. Log in & Set a Password for your Server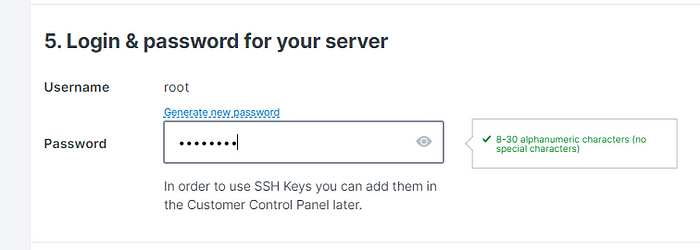 Set a password
6. Object Storage — Default
7. Networking — Default
8. Add-Ons — Default
After finalizing your payment, you’ll get an email verifying your purchase. Hold tight for a follow-up email, which will provide details about your VPS, encompassing your access credentials.
You’ll need to download and use Putty, a tool that enables you to securely connect to your VPS and utilize its functionalities. Download it here https://www.putty.org/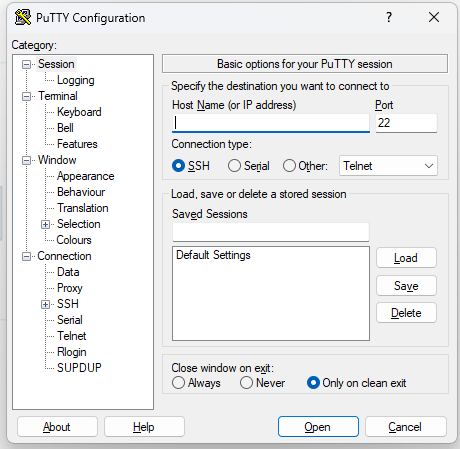 Enter IP ADDRESS
Enter the VPS IP Address then Click OPEN
Login : root
Password: (Enter your chosen password)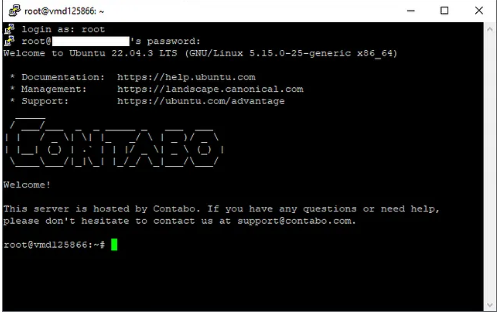 Log in using the password you set earlier.
Preparations
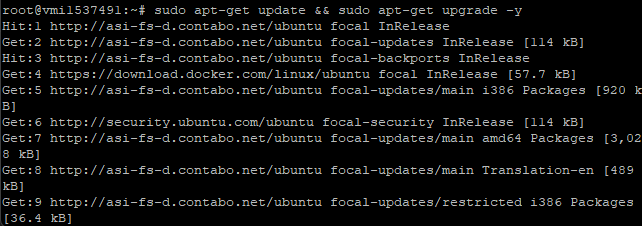
- Install essential components
sudo apt-get update && sudo apt-get upgrade -y
 2. Install Screen Software
apt install screen git -y
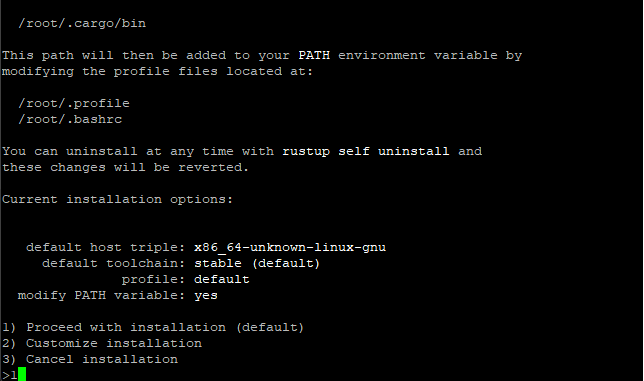
 3. Download Rust (proceed with default)
curl --proto '=https' --tlsv1.2 -sSf https://sh.rustup.rs | sh
 4. Refresh VPS
source "$HOME/.cargo/env"

Node Installation
- Clone Github Repository
git clone https://github.com/AleoHQ/snarkOS.git --depth 1
 2. Go to snarkOS directory
cd snarkOS
 3. Install dependencies
./build_ubuntu.sh
 4. Install snarkOS
cargo install --path .
 5. Create Screen
screen -S aleo
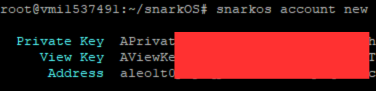
6. Create Wallet
snarkos account new
 note: if you already have a wallet, skip this step
7. Run Aleo Prover & Enter PrivateKey
./run-prover.sh
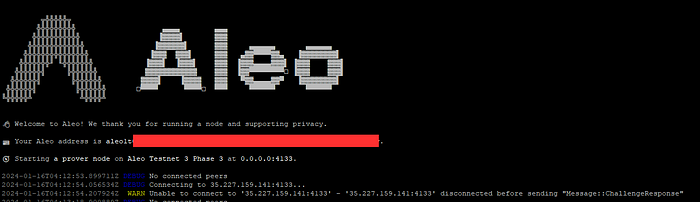 To exit your instance while keeping your node running, you can press CTRL+A+D
If you want to come back to the instance, enter this command:
screen -r aleo
BONUS! Interact with Testnet!
1. Download Leo Wallet
Go to: Aleo Wallet Download site
2. Install and Import the Private key that you generated earlier
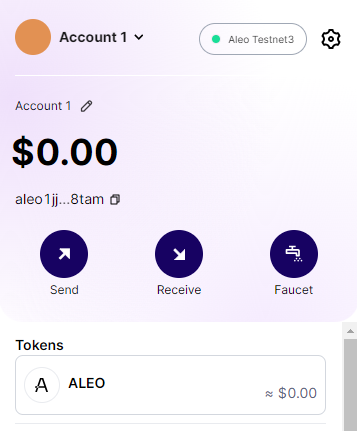
3. Request test tokens
- Head to Aleo Discord
- Whitelist your Address here: https://faucetgreenlist.snarkos.net/
- Go to #faucet Channel and Request Tokens.
4. You can now interact with these dApps
- AleoSwap (DEX)- https://app.aleoswap.org/swap/public*
- AleoFinance (DEX)- app.arcane.finance
- AleoNames (DOMAIN)- https://testnet3.aleonames.id/
- AleoStore (NFT) — https://aleo.store/collection/create
- AleoTools (DEPLOY CONTRACT) — aleo.tools/develop