Cross Finance Incentivized Testnet For Users

Cross Finance has announced 2M$ grants for the testnet participants of the phase 3
In this guide you will make testnet tasks without wasting any time
Just tasks and saving the time
Let's begin
Note: We recommend you using your Metamask testnet accounts for this type of testnets cause in this tutorial you will need your seed phrases for entering the portal
Note2: this is a daily task so you should do the tasks DAILY
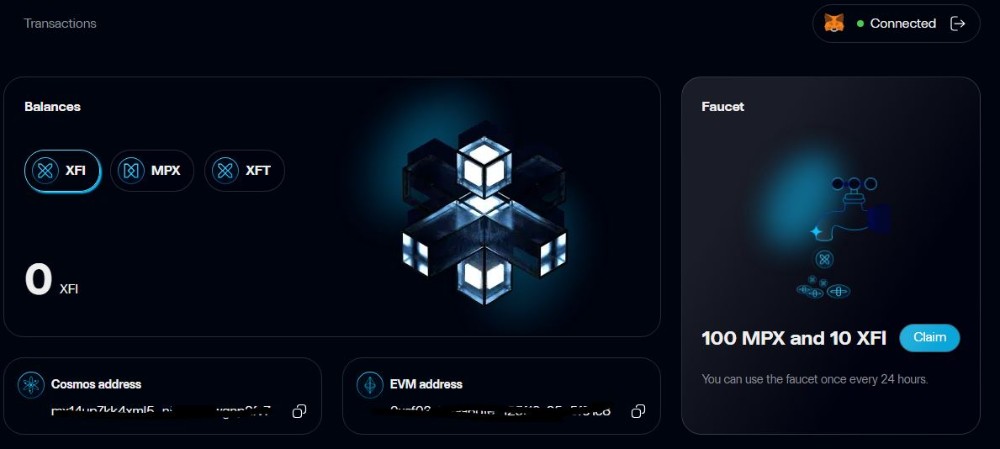
Once every 24 hours, you have access to 100 MPX and 10 XFI.
After receiving the coins, you can access the Earn XFT section.
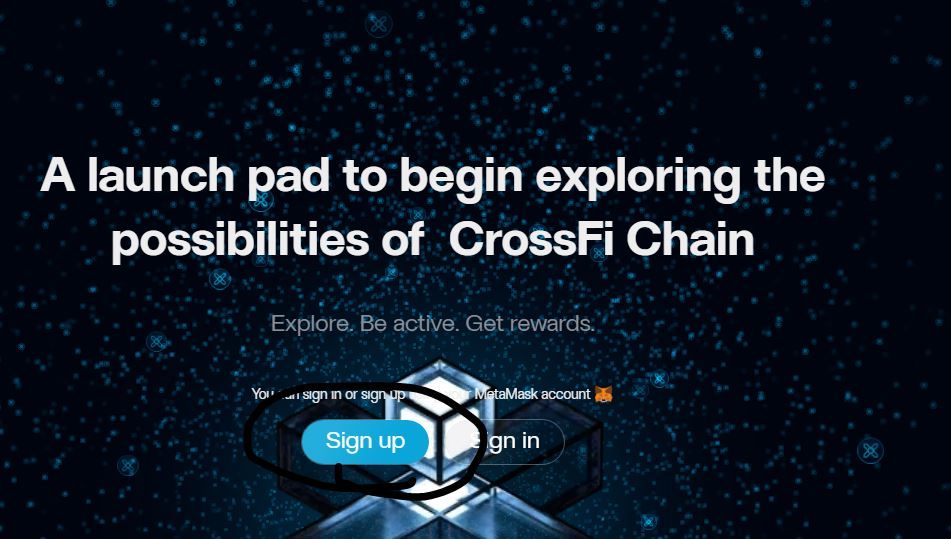
1-) First Step
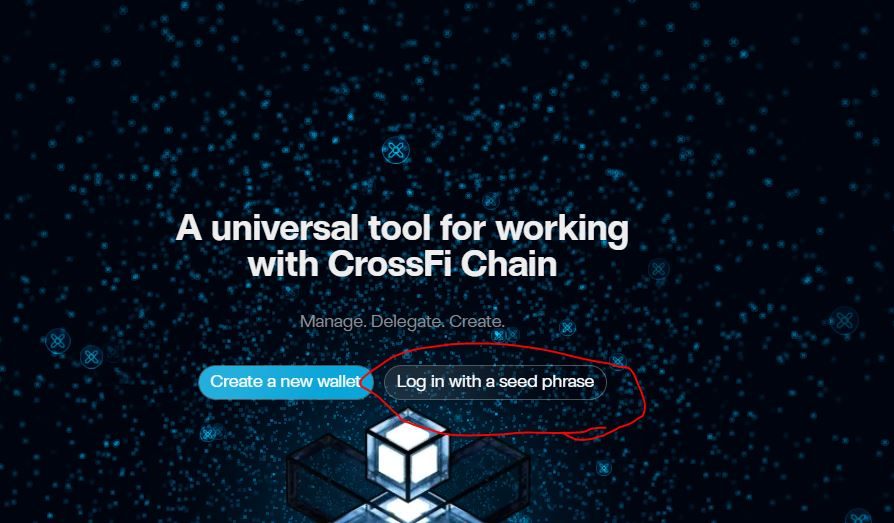
https://testpad.xfi.foundation
Sign Up the contracts with your MM wallet
2-) When you click the "claim" button this will direct you connect your social accounts
3-) Connect your social accounts
If you claimed your tokens successfuly
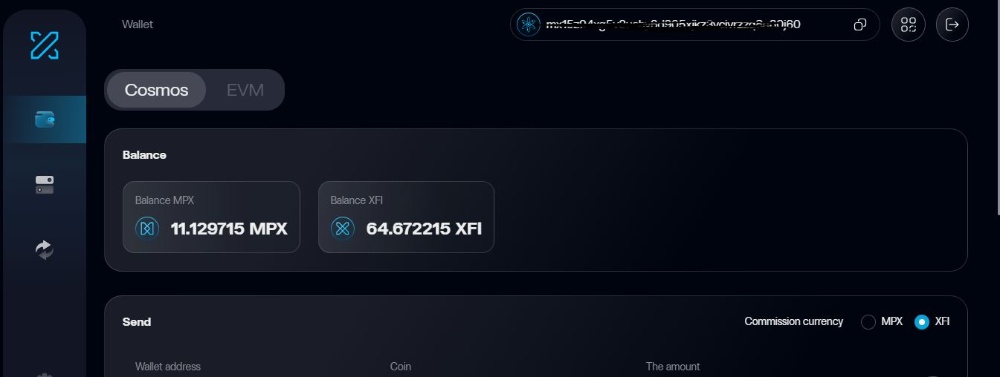
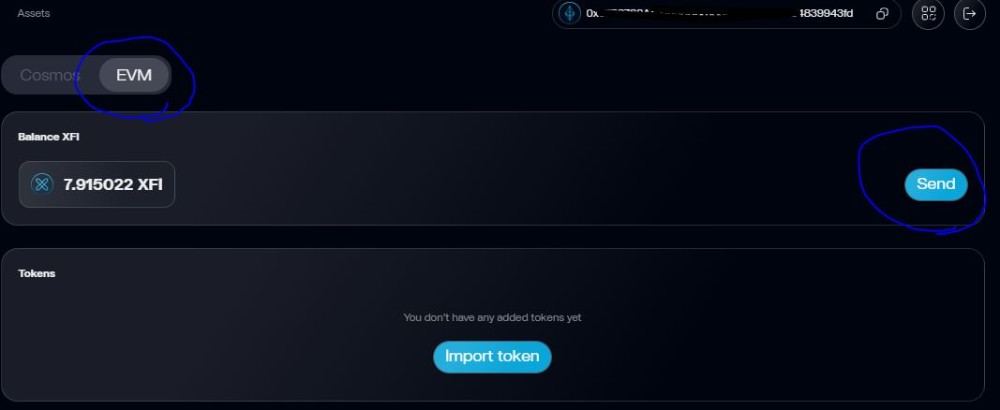
4-) Lets's open the wallet console https://test.xficonsole.com
You need your Metamask seed phrases for entering the portal which registered during the first step
We will use this console for all the tasks
5-) You can view your wallet and tx on this console
6-) Let's turn back to the https://testpad.xfi.foundation
Enter the "EARN XFI" panel you will see the task which be form of 5 easy quest
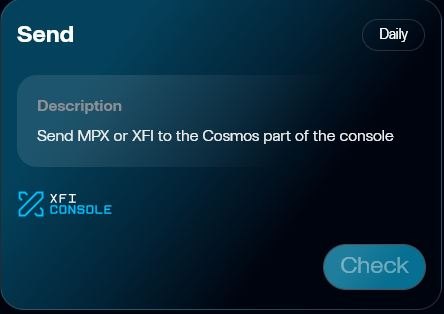
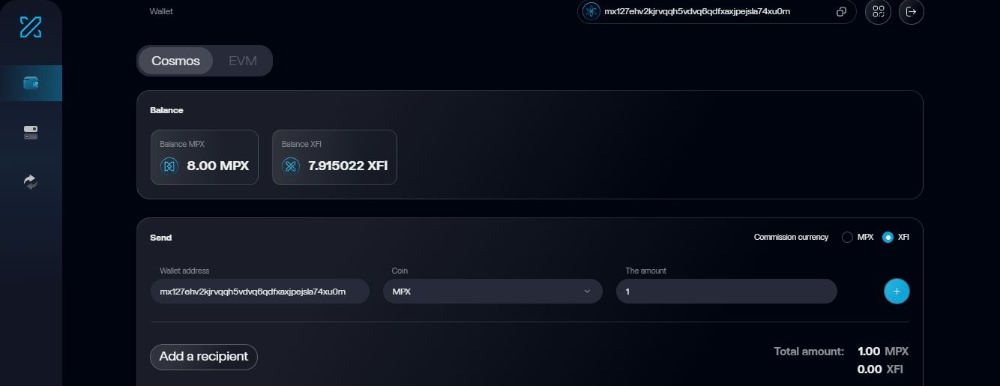
Let's send some token to the any other wallet
As an option you can use this wallet (It's not my wallet but a friend) :
mx13sl5v8864c0qtpta9zcwy2armgyh52lr8qdnt4
-I will give you my wallet address as well but want to use it for the other tasks from you-
You need to use different addresses for some tasks
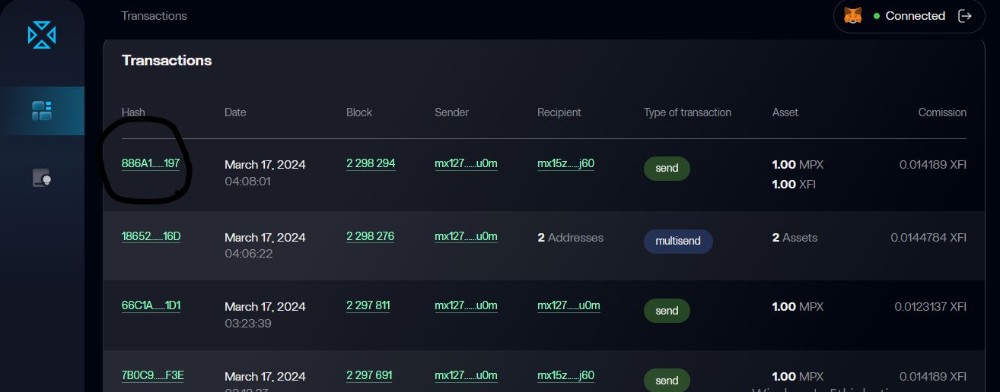
If you send your tokens successfuly let's turn back to the foundation panel https://testpad.xfi.foundation scroll down and you can see your transaction records
let's copy your tx record that saved for your first task
-The tx on the image belongs to other task it's just an example-
Find yourself
Then get back to the task page and click the "Check" then paste your TX in it!
That's it!
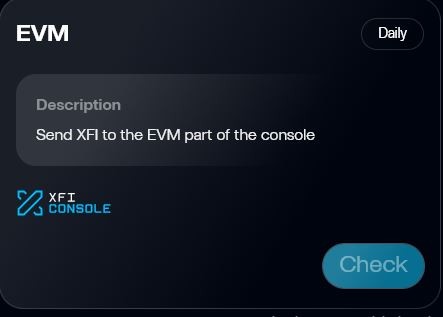
9-) Second task "EVM": send any amount of xfi to the any EVM address
https://test.xficonsole.com just click the EVM icon on the page then send the tokens
As an option you can use my EVM wallet: 0x57B3762Ad21B000Bd18d603406a4dd34839943fd
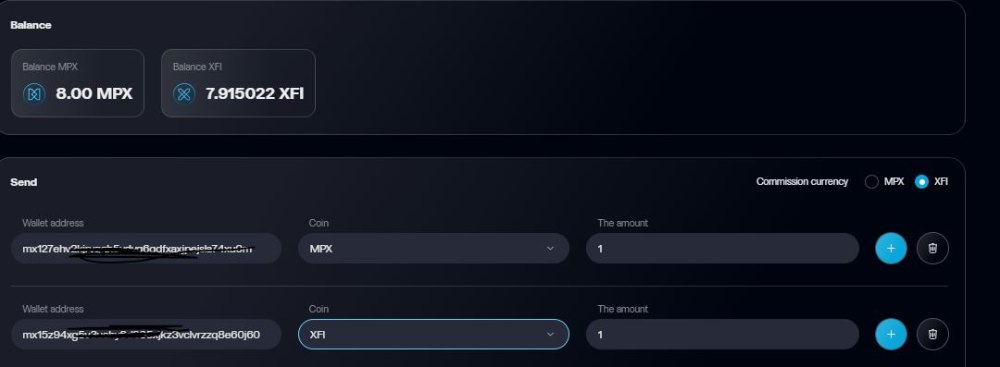
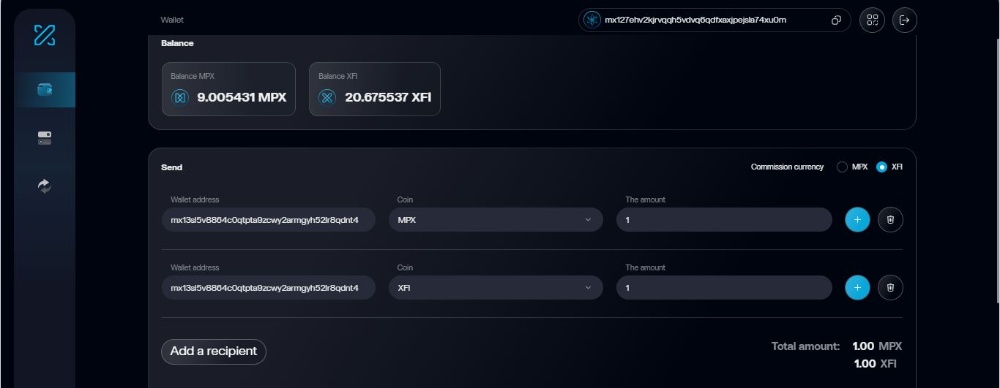
10-) Third task MULTISEND1: send any amount of MPX or XFI to the DIFFERENT ADDRESSES - so its a multi transaction-
option : mx13sl5v8864c0qtpta9zcwy2armgyh52lr8qdnt4 - mx127ehv2kjrvqqh5vdvq6qdfxaxjpejsla74xu0m
Then turn back to the https://testpad.xfi.foundation/ find your tx record then click the "check" and paste in it.
11-) Fourth task MULTISEND2: send both XFI and MPX to any address
As an option you can use my Cosmos - Crossfi wallet: mx127ehv2kjrvqqh5vdvq6qdfxaxjpejsla74xu0m
Edit: Some functions does not work properly that's why I had to edit:
You should type same address on both line
If you used the (+) function the campaign does not recognize it as a mutlisend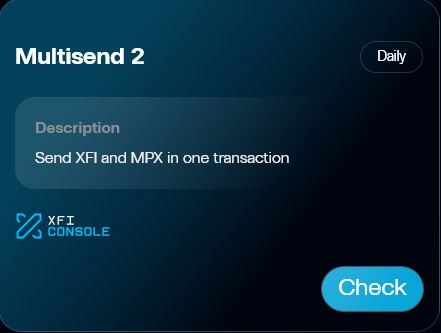
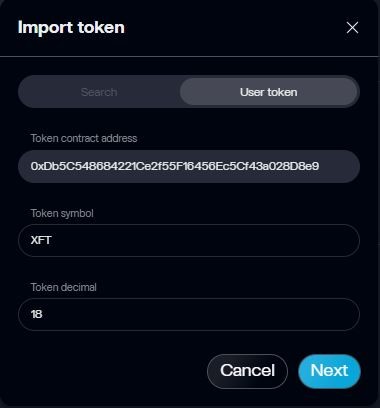
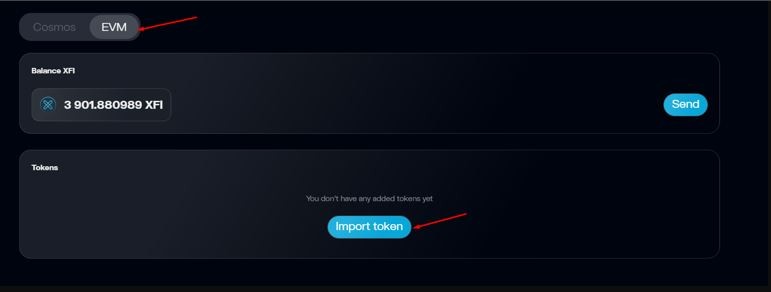
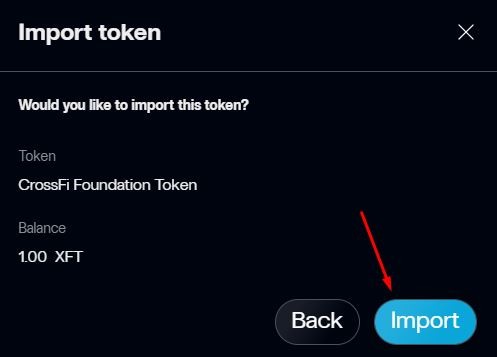
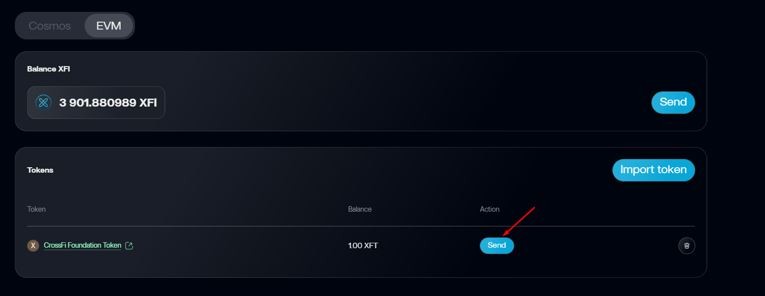
12-) Fifth task TRANSFER: Send Foundation token (XFT) 
Then turn back to the https://testpad.xfi.foundation/ find your tx record then click the "check" and paste in it.
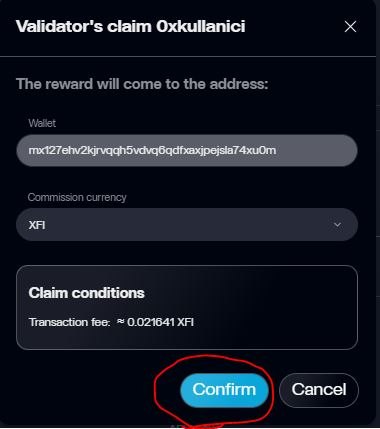
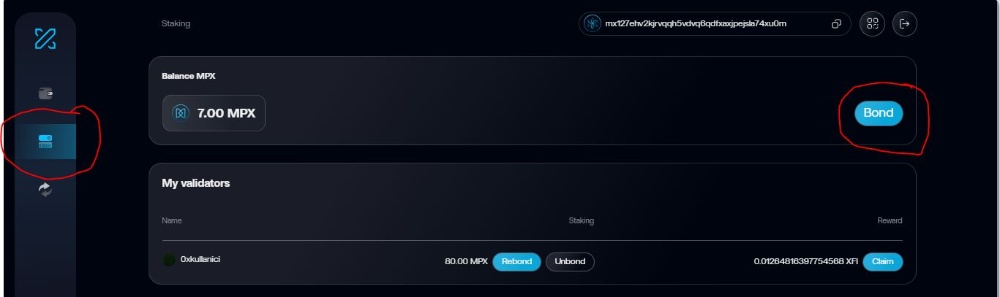
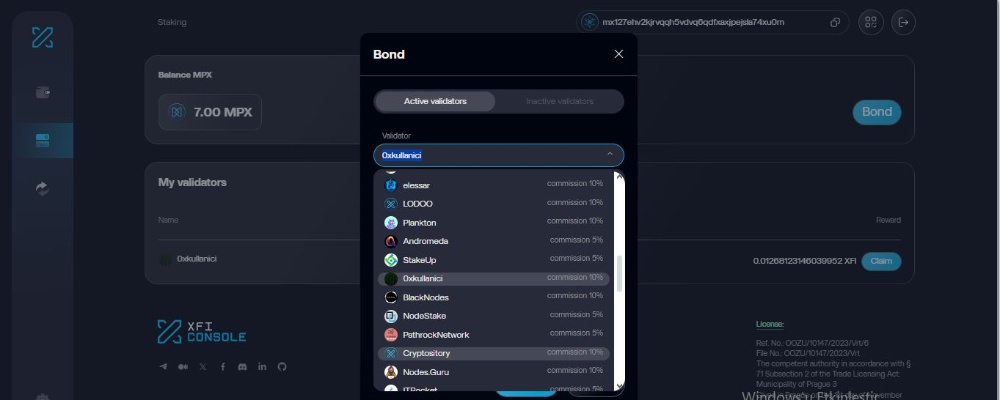
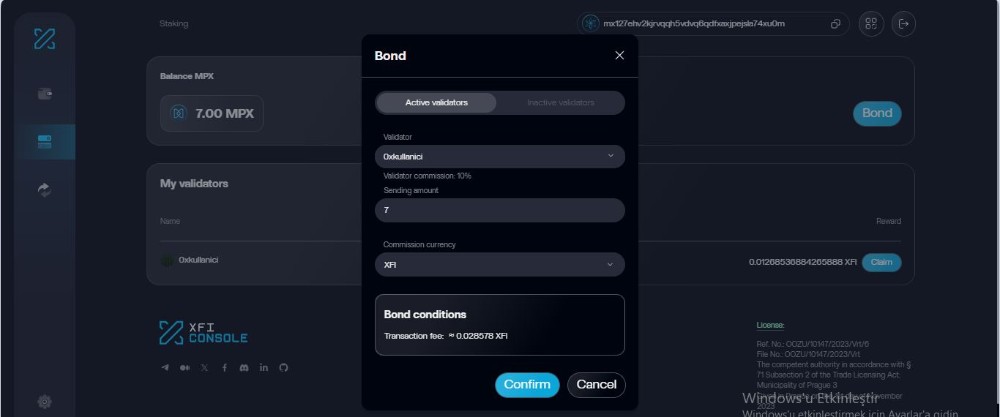
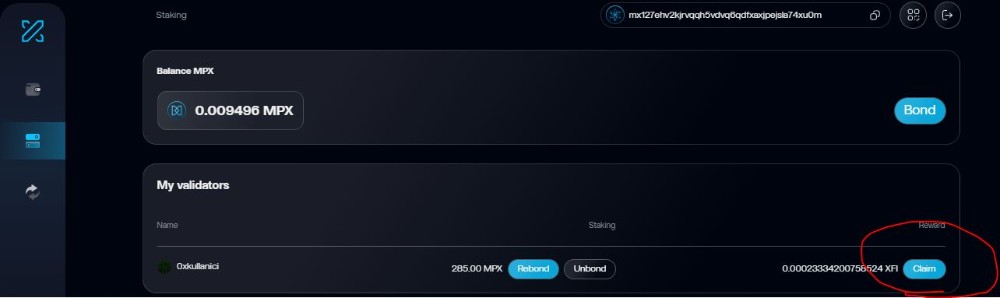
13: Sixth and Last Task "BOND"
https://test.xficonsole.com/ enter the staking page Click the "Bond" then select your validator that you want to delegate on it - If you support me you can Bond on my validator 0xkullanici- you send all the tokens that left from the tasks!
Thank you so much for your support
Then turn back to the https://testpad.xfi.foundation/ find your tx record then click the "check" and paste in it.
I hope this tutorial would be useful for you
Cheers!
If you need any help you can visit CrossFi social accounts -I will be there-:
Discord: https://discord.gg/j7hVhvcT
Telegram: https://t.me/crossfiofficial/1
Twitter: https://twitter.com/crossfichain
Then turn back to the https://testpad.xfi.foundation/ find your tx record then click the "check" and paste in it.
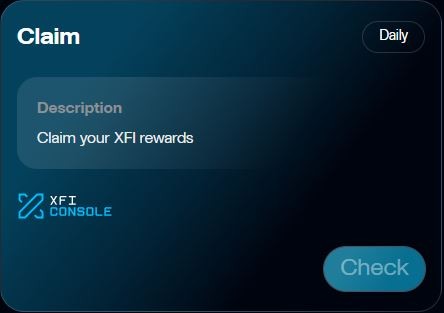
Edit: The Crossfi Team has added a new task "Claim": In this task you claim claim your rewards which comes from your bonded tokens on a validator.