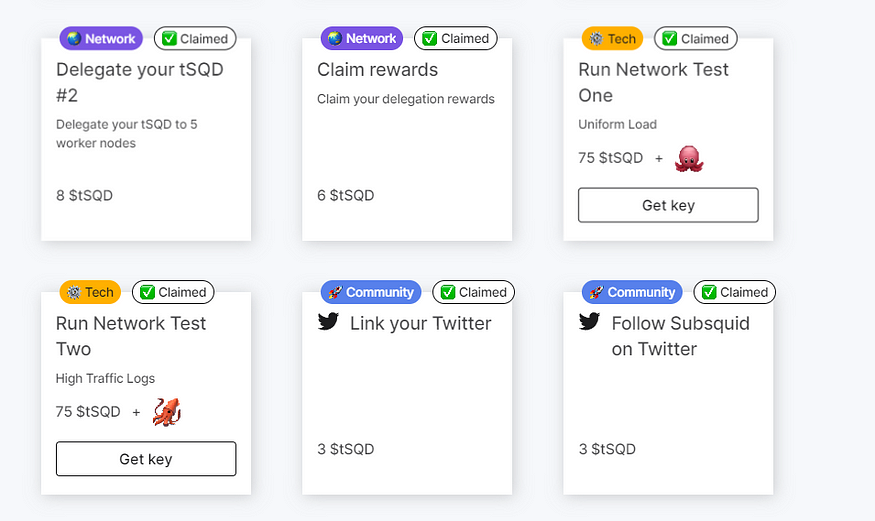
Tutorial on TECH quests on Subsquid testnet,

 Create a codespace via Github
◾ Go to Github CodeSpace: Click ⏬
Create better software, together
GitHub is where people build software. More than 100 million people use GitHub to discover, create, and contribute to…
github.com
◾ Select Blank > Click Use this template.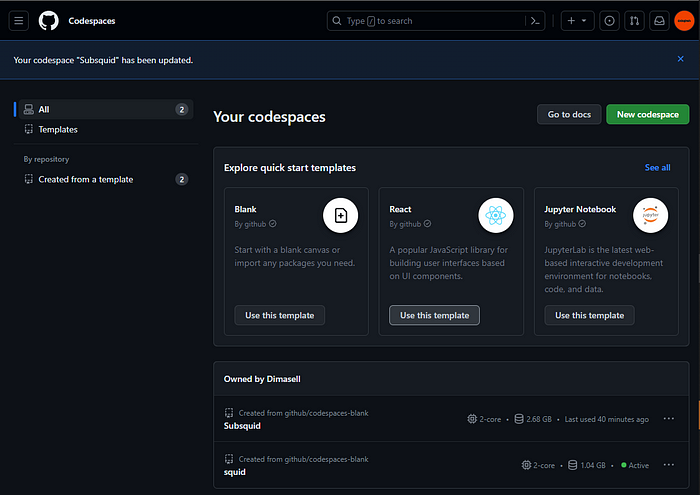
Select Blank
If Visual Code has been opened, select the terminal to execute the command.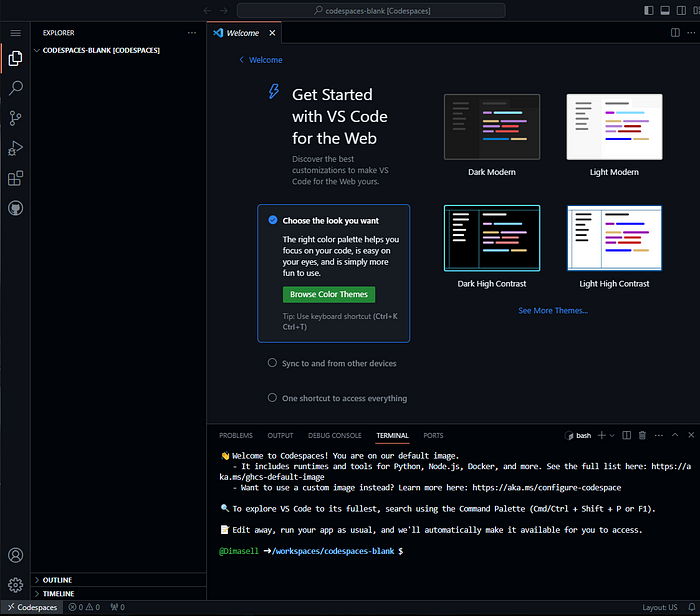
STEP 1
Installation and update
~ INSTALLER .Git
Enter the command at the terminal
sudo apt update
sudo apt install git
~ INSTALLER node.js et npm
Enter the command on the terminal
sudo apt install nodejs
(To confirm downloads, type: Y
and > Press Enter
Enter the command on the terminal
sudo apt install npm
npm install -g npm@10.2.0
~ INSTALLER Docker
Enter the command on the terminal
sudo apt-get install ca-certificates curl gnupg lsb-release -y
curl -fsSL https://download.docker.com/linux/ubuntu/gpg | sudo gpg --dearmor -o /usr/share/keyrings/docker-archive-keyring.gpg
echo "deb [arch=$(dpkg --print-architecture) signed-by=/usr/share/keyrings/docker-archive-keyring.gpg] https://download.docker.com/linux/ubuntu $(lsb_release -cs) stable" | sudo tee /etc/apt/sources.list.d/docker.list > /dev/null
sudo apt-get update
sudo apt-get install docker-ce docker-ce-cli containerd.io -y
~ Default directory
If everything is installed, let's change the default npm directory.
Enter the command on the terminal
mkdir global-node-packages
npm config set prefix ~/global-node-packages
export PATH="${HOME}/global-node-packages/bin:$PATH"
cd global-node-packages
nstaller la CLI Subsquid
Open a terminal and run
npm install --global @subsquid/cli@latest
This adds the sqdcommand . Verify that the installation was successful by running
sqd --version
A healthy response should look like
@subsquid/cli/2.8.0 linux-x64 node-v20.5.1
STEPS 2
. Run the squid
- Open a terminal, navigate to any folder for which you have write permissions and run the following commands to get the squid, enter its folder and install the dependencies:
sqd init uniform-load-squid -t https://github.com/subsquid-quests/network-test-one-uniform-load-squid
cd uniform-load-squid
above sea level
STEP 3~ Deploy a Single CPU Squid
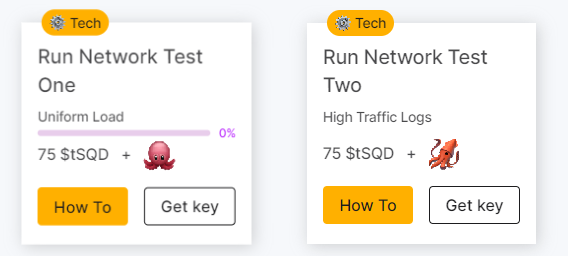
go to the quest daschboard, switch network
deploy a new key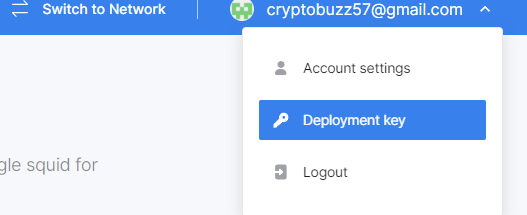
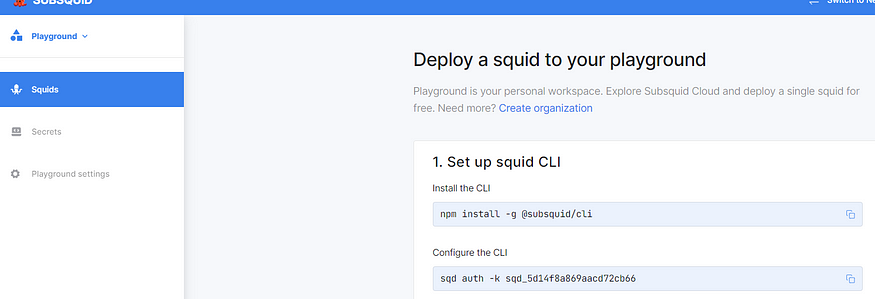
Install CLI
npm install -g @subsquid/cli
Replace crypto-hunter with your name
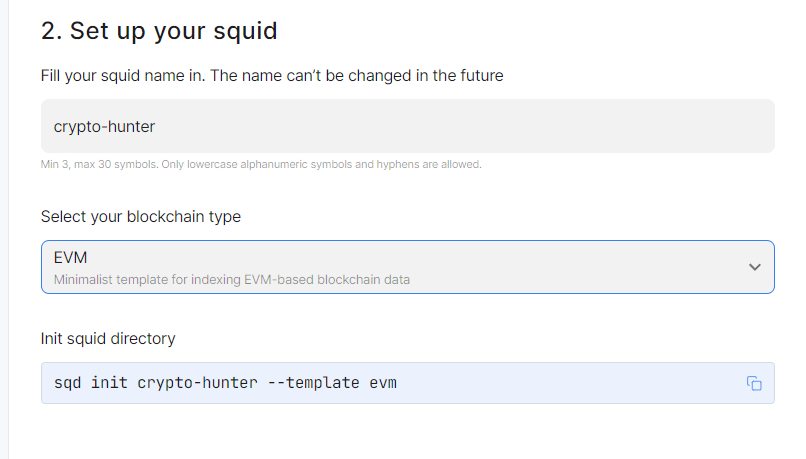
Paste into your terminal
sqd init crypto-hunter --template evm
Then choose your type of blockchain, here EVM
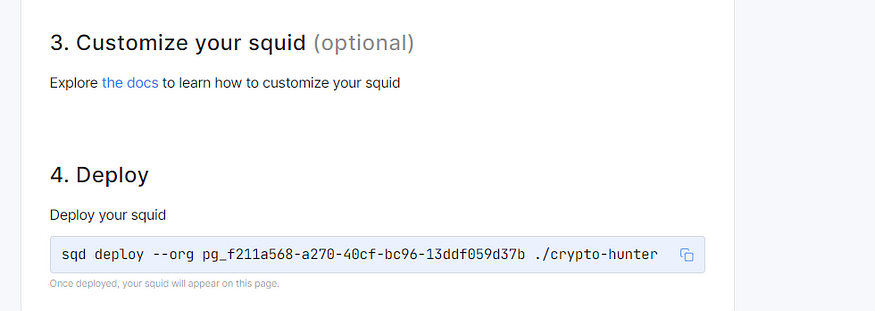
and paste the last DEPLOY command into your terminal
sqd deploy --org pg_f211a568-a270-40cf-bc96-13ddf059d37b ./{{squid-name}}STEPS 3
Go back to the quests and download the GET KEY file
copy your file to terminal, drag it to .keep
networkTestOneUniformLoad.key key file. Save it to the ./query-gateway/keys subfolder of the squid folder. The file will be used to identify your local query gateway when locking tSQD to allocate bandwidth and as it operates.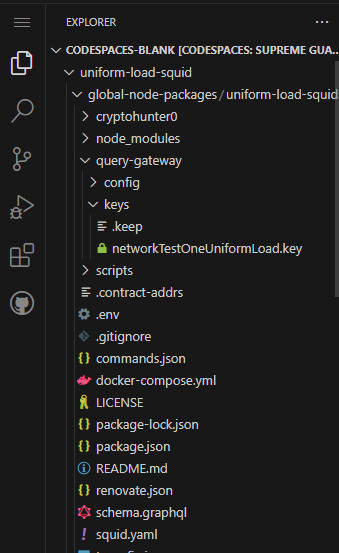
Obtain the peer identifier of your future gateway by executing:
sqd get-peer-id
Register your future gateway using this page. on the subsquid testnet dashboard, go to Add gateway
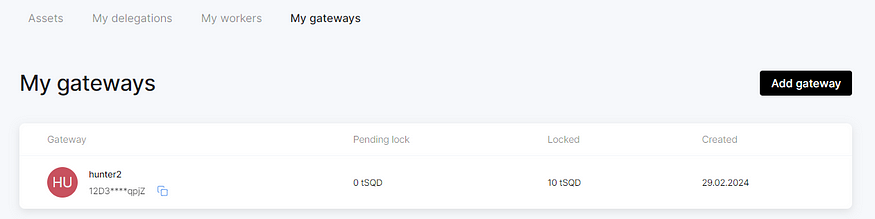 Use the peer ID you obtained in the previous step. Leave the “ Publicly Available” switch off .
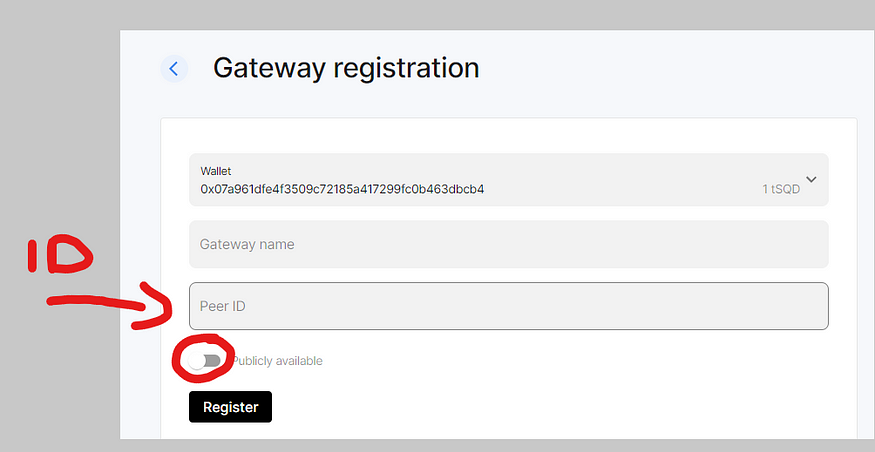 Lock in 10 tSQD by selecting your gateway on this page, clicking “Get CU” and submitting the form.
Once done, you will start receiving Compute Units (CUs) every epoch (~15 minutes).
The “Block Lock Duration” field allows you to adjust the amount of time you will be able to query the network, measured in Arbitrum Sepolia (i.e., Ethereum Sepolia) L1 blocks. The minimum is five hours, but you can choose to lock in longer if you plan to work on the quest over multiple days.
TimeBlocks5 hours (minimum)150024 hours720072 hours21600
Please note that you will need to unlock your tokens manually after this period ends. The tokens you collect will be used in subsequent quests.
If the lock period expires before you finish your work, simply unlock your tokens and then lock them again.
Wait about 15 minutes. This is the time required for the Subsquid network to enter a new epoch, at the start of which CUs will be allocated to your gateway.
STEPS 3
Return to the terminal and start the query gateway with:
sqd up
If you want to check if the lock was successful, you can inspect the Query Gateway container logs with docker logs <nom_du_conteneur_de_la_passerelle_de_requête>. After the first one to two minutes it takes for the node to start, it should contain lines like this:
[2024-01-31T14:55:06Z INFO query_gateway::chain_updates] allocated CU: 48300 spent CU: 0
Trick
If you receive an error message about an unknown shorthand flag: 'd' in -d, this means that you are using an older version of Docker that does not yet support the compose command. Update Docker or modify the commands.json file as follows:jsonCopy code
"up": {
  "deps": ["check-key"],
  "description": "Start a PG database",
  "cmd": ["docker-compose", "up", "-d"]
},
"down": {
  "description": "Drop a PG database",
  "cmd": ["docker-compose", "down"]
},
Build the squid code with:
sqd build
Start your squid with:
sqd run .
The command should produce lines like these:
[eth-processor] {"level":2,"time":1705681499120,"ns":"sqd:commands","msg":"PROCESS:ETH"}
...
The squid should download enough data in 3–4 hours.
Trick
Don't worry if the squid fails: any progress made is saved. Just restart it if this happens.
When you're done, stop the squid processor with Ctrl-C, then stop and delete the query gateway container with:
sqd down
After the lock period ends, go to the Gateways page and unlock your tSQDs — you'll need them for other quests.
STEPS 5
once the bar is 100% charged you will be able to claim the 75 test tokens
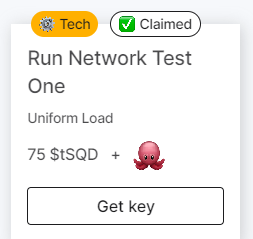 that's it for this quest